

Introduction
To say that I am a little fond of the 4/3 DSLRs might be an understatement! I’m finding so much fun in shooting with the Olympus E-300, E-510 and E-3…I thought it would be interesting to check and see if the Panasonic cameras had the same pizzaz!
Cut to…the Panasonic L1. It is the same camera as the Leica Digilux 3. it can use all the same lenses as the Olympus 4/3 DSLRs as well.
Without further delay…let’s get into this review, how does this range finder styled/inspired DSLR from the early 2000s compare to the other E series DSLRs that we reviewed before.
Disclaimer – sample images represent was is possible to get from this specific camera and lenses used. The images may be straight from camera JPG and or could have been post processed in Lightroom or other software to get them to the vision I wanted. However they are processed will be described in the caption of the image along with the lens used.
Tech Stuff
Body
Picking up this body, you feel the quality construction right off the bat. There is a lot in comparison between the Panasonic L1 and the Olympus E-300 (CCD sensor no live view, side swinging mirror box) and E-330 (liveMOS sensor with live view, side swinging mirror box, same sensor as the L1).
The body is big enough to be able to have full control – with buttons where you want them, but not so big as to be unwieldy.
Controls are a different methodology than Olympus – but I got used to it rather quickly. The biggest control difference is using the camera with lenses that do not have aperture rings (the Panasonic/Leica lenses do, the Olympus ones do not). If you are shooting with an Olympus lens – you have full function, but accessing aperture or exposure compensation requires that FUNC1 or FUNC2 be pressed first, respectively. Once you take a shot, the aperture and exposure comp settings stay locked and can only be changes when you press the appropriate FUNC button again and spin the rear command dial.
In some ways, this is nice because you will never accidentally change a setting. On the other, you have additional button presses to get where you want – except…by default the camera is in P or Program mode and the rear dial can directly do a “program shift”, so it will change the exposure setting, almost like being in an aperture priority mode.
First time out, I shot the camera in aperture priority, locked in mostly at f/4 or 5.6. subsequent times out, I shot in Program mode and used the program shift.
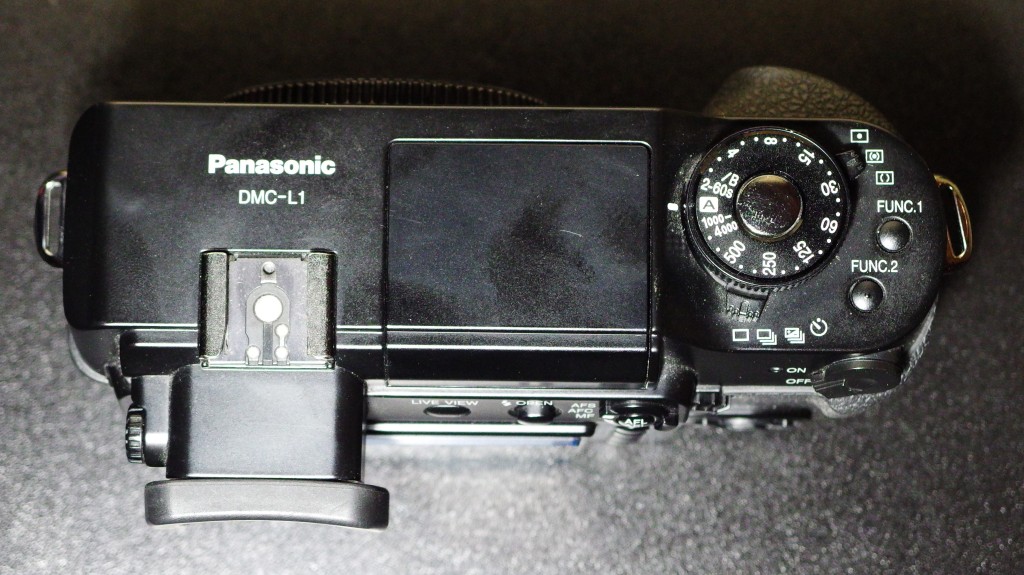
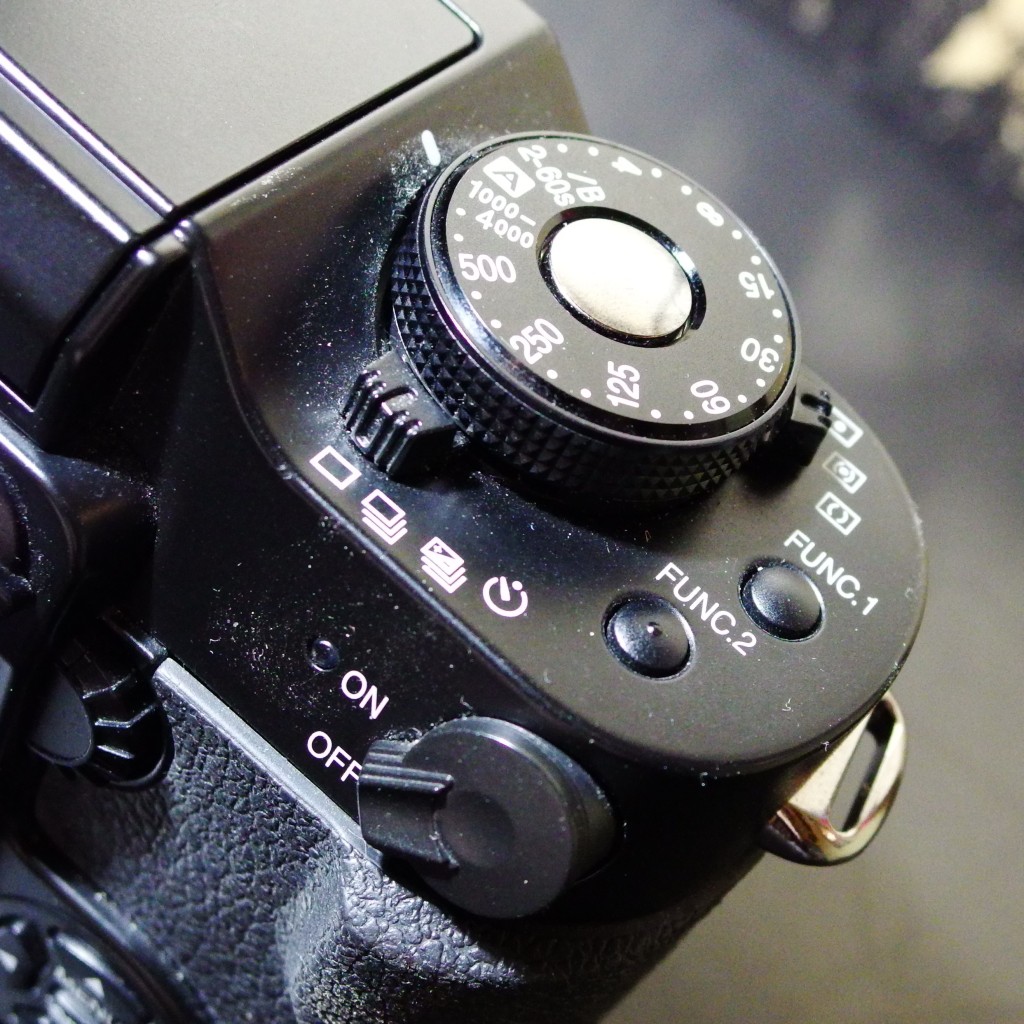
Dials / Switches. There are 2 dials on the camera, a shutter speed dial and a rear command dial. If you set the shutter dial to “A”, the camera will go to Program mode or Aperture mode, depending on if you change the aperture dial on a so equipped lens or hit FUNC1 and spin the rear dial to get into Aperture priority mode.
The rear dial can also be used to change exposure compensation by pressing FUNC2 first.
The power switch is located on the back of the camera on the top right and is easy to hit with the thumb for quick on/off action!
Another switch on the back, just to the left of the command dial is the focus mode. AFS, AFC, MF are selectable.
On the top plate – there are 2 switches under the shutter dial. One allows for the changing of the metering mode, the other is the drive dial, for selection of single, continuous, bracket and timer.
Having ISO as a dial would have also been a nice addition, but instead, Panasonic decided to go with a button and changing the ISO from the menu. Auto ISO is not available in Manual, Shutter or Aperture priority mode (oddly) but is in Program mode.
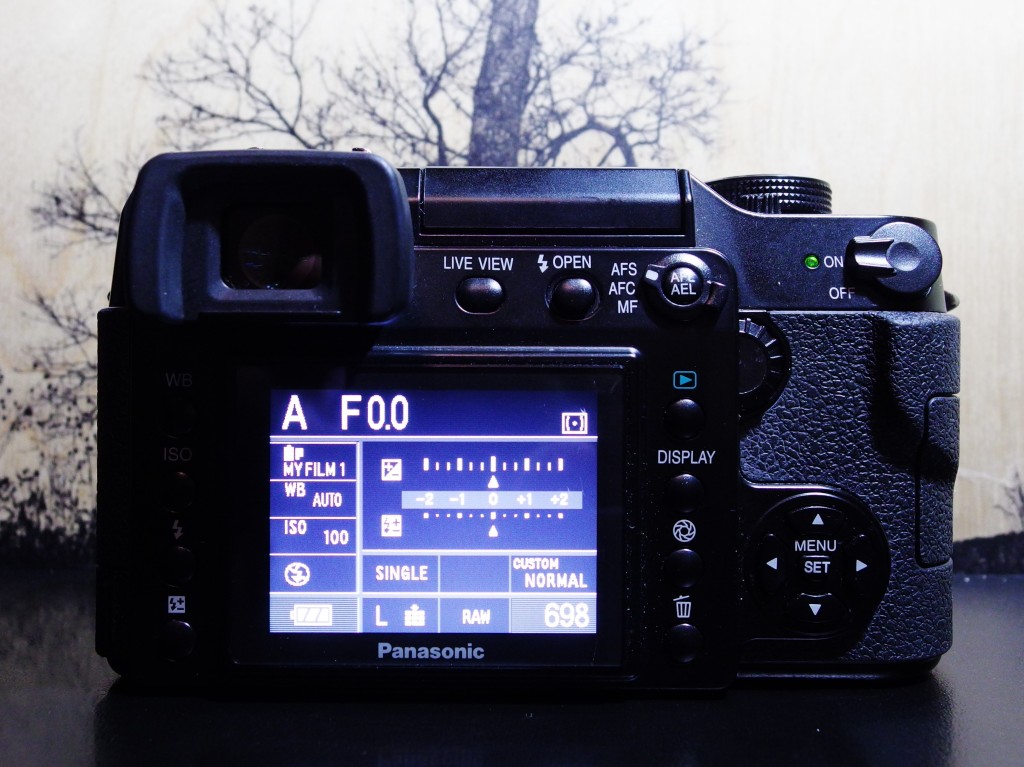
Buttons. There are a lot of buttons with a D-Pad that I use for changing the AF point. Not everything can be changed with one hand, so expect to need to use 2 for some functions, like changing ISO or white balance. On the rear of the camera are a total of 16 buttons!
Live View button where you can activate a live view feature on the rear. The rear LCD does not articulate at all, but it works well for the live view when needed or getting camera information – similar to the info screen on the Olympus 4/3 DSLRs.
Shutter Release – The shutter release has a positive feel between activating the auto focus and actuating the shutter. It has an almost springy feel down to focus actuation, then a positive stop. You can feel a positive click between when focus is activated and then just a little more pressure gives you an actuation of the shutter. I had no problems adjusting to it and did what I needed when I needed it. it is situated within the shutter speed dial, which at first seems kind of weird – but it feels just fine and the shutter speed dial is stiff enough that the chance of accidentally shifting it has never happened and I think probably never will.
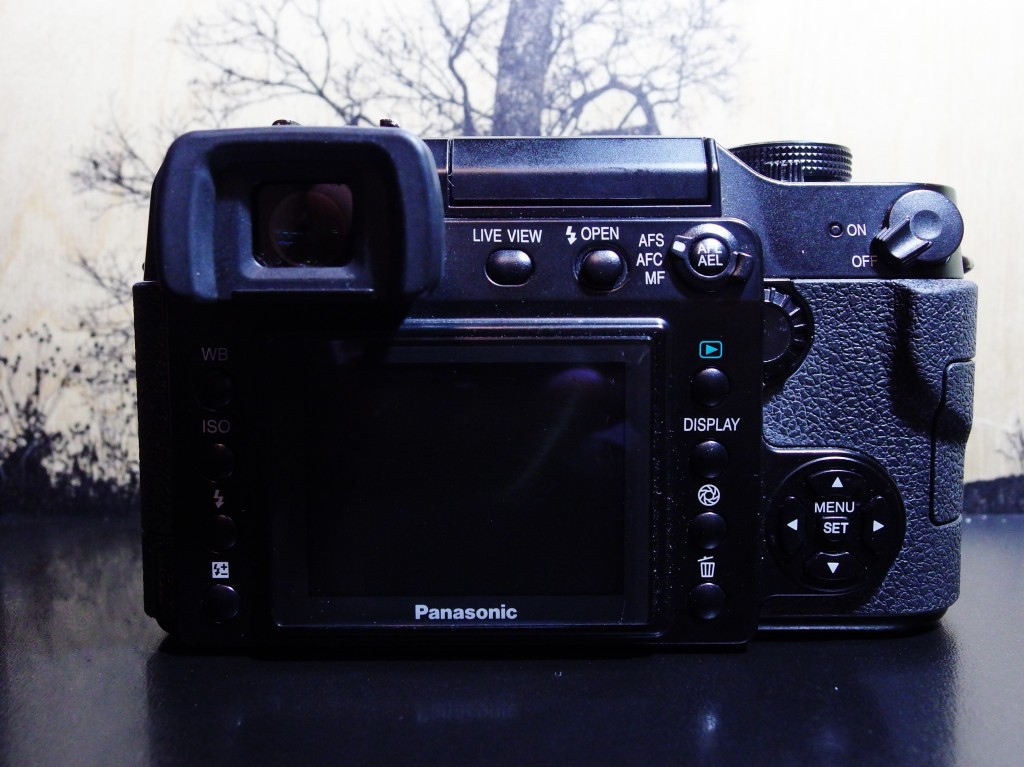
Rear LCD – It has a decent size display for its time. Good for checking exposure a little troublesome for checking exact focus…but luckily, the auto focus on the L1 DSLR is pretty solid. Would have been nice to have some kind of articulation, but still useful none the less!
Flash
This camera does have a built in flash. It sits right in he middle of the body. It has a rather ingenious 2 stage setting. First time pressing the flash OPEN button, you get the flash in bounce position. Press it again, you get forward position.

Flash Position 1 – bounce flash
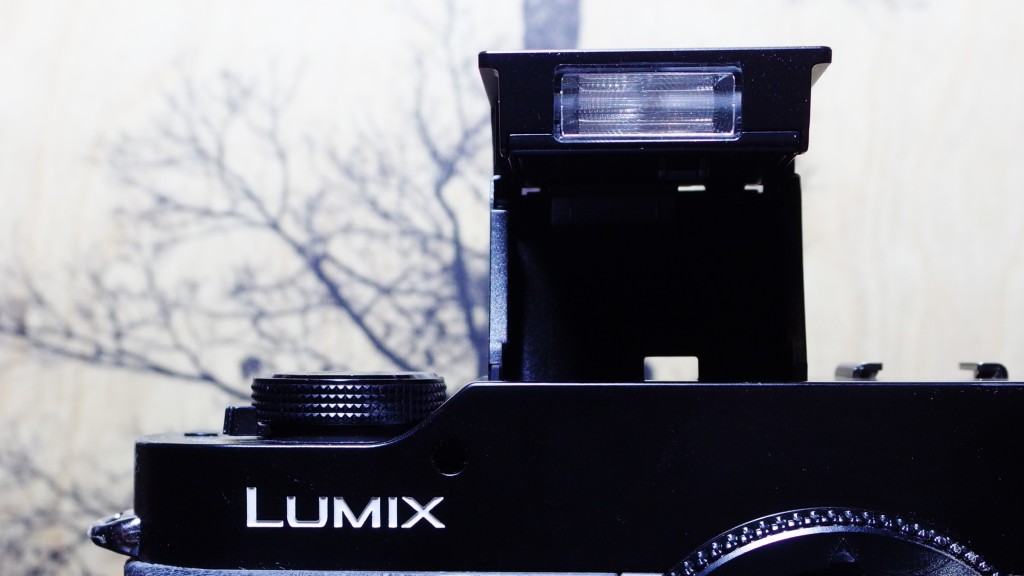
Flash Position 2 – fill flash
Viewfinder
The viewfinder is an optical finder with 95% coverage. It does the job. The shooting info is at viewfinder right side when shooting in landscape orientation, like the E-300. It does just fine for composing as needed and getting the shooting info.
Weather Sealing
Not sure about the weather sealing on the L1. Given when it was made, I doubt a small drizzle or a light snow would bother this camera at all. I would not take it out into a downpour…but as we always state – you make your own decision on how you want to treat your gear and what conditions you take it out into.
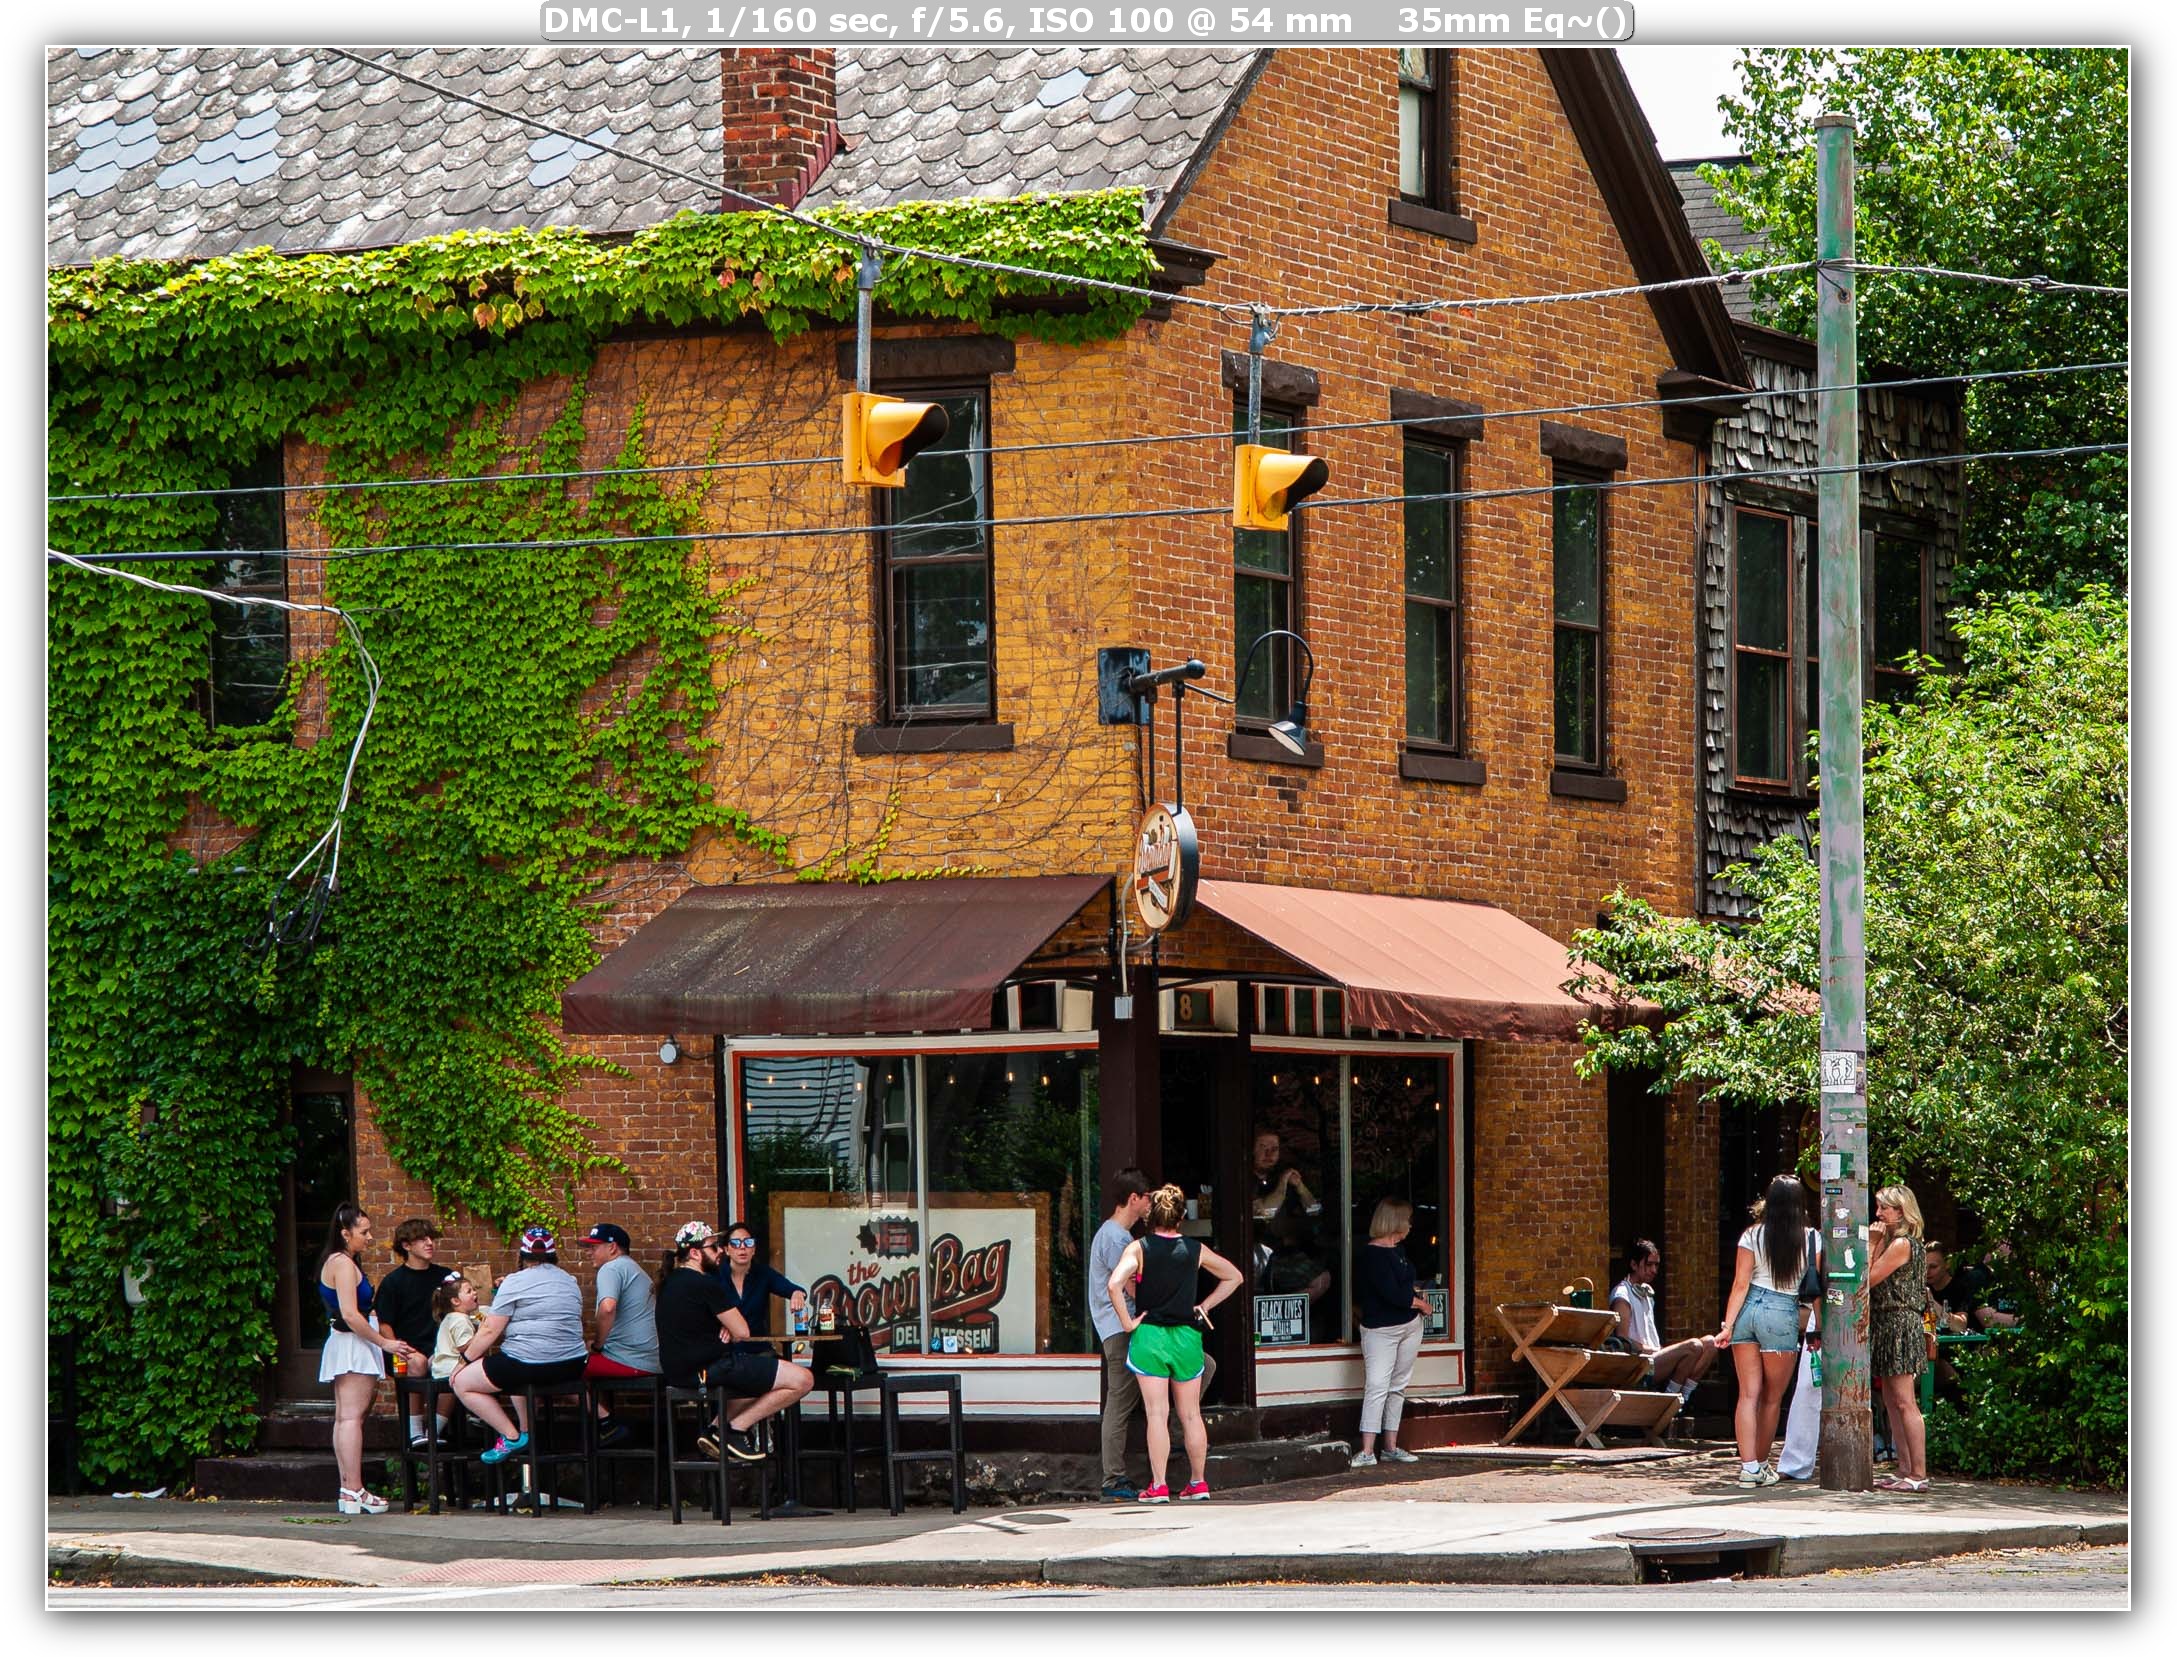
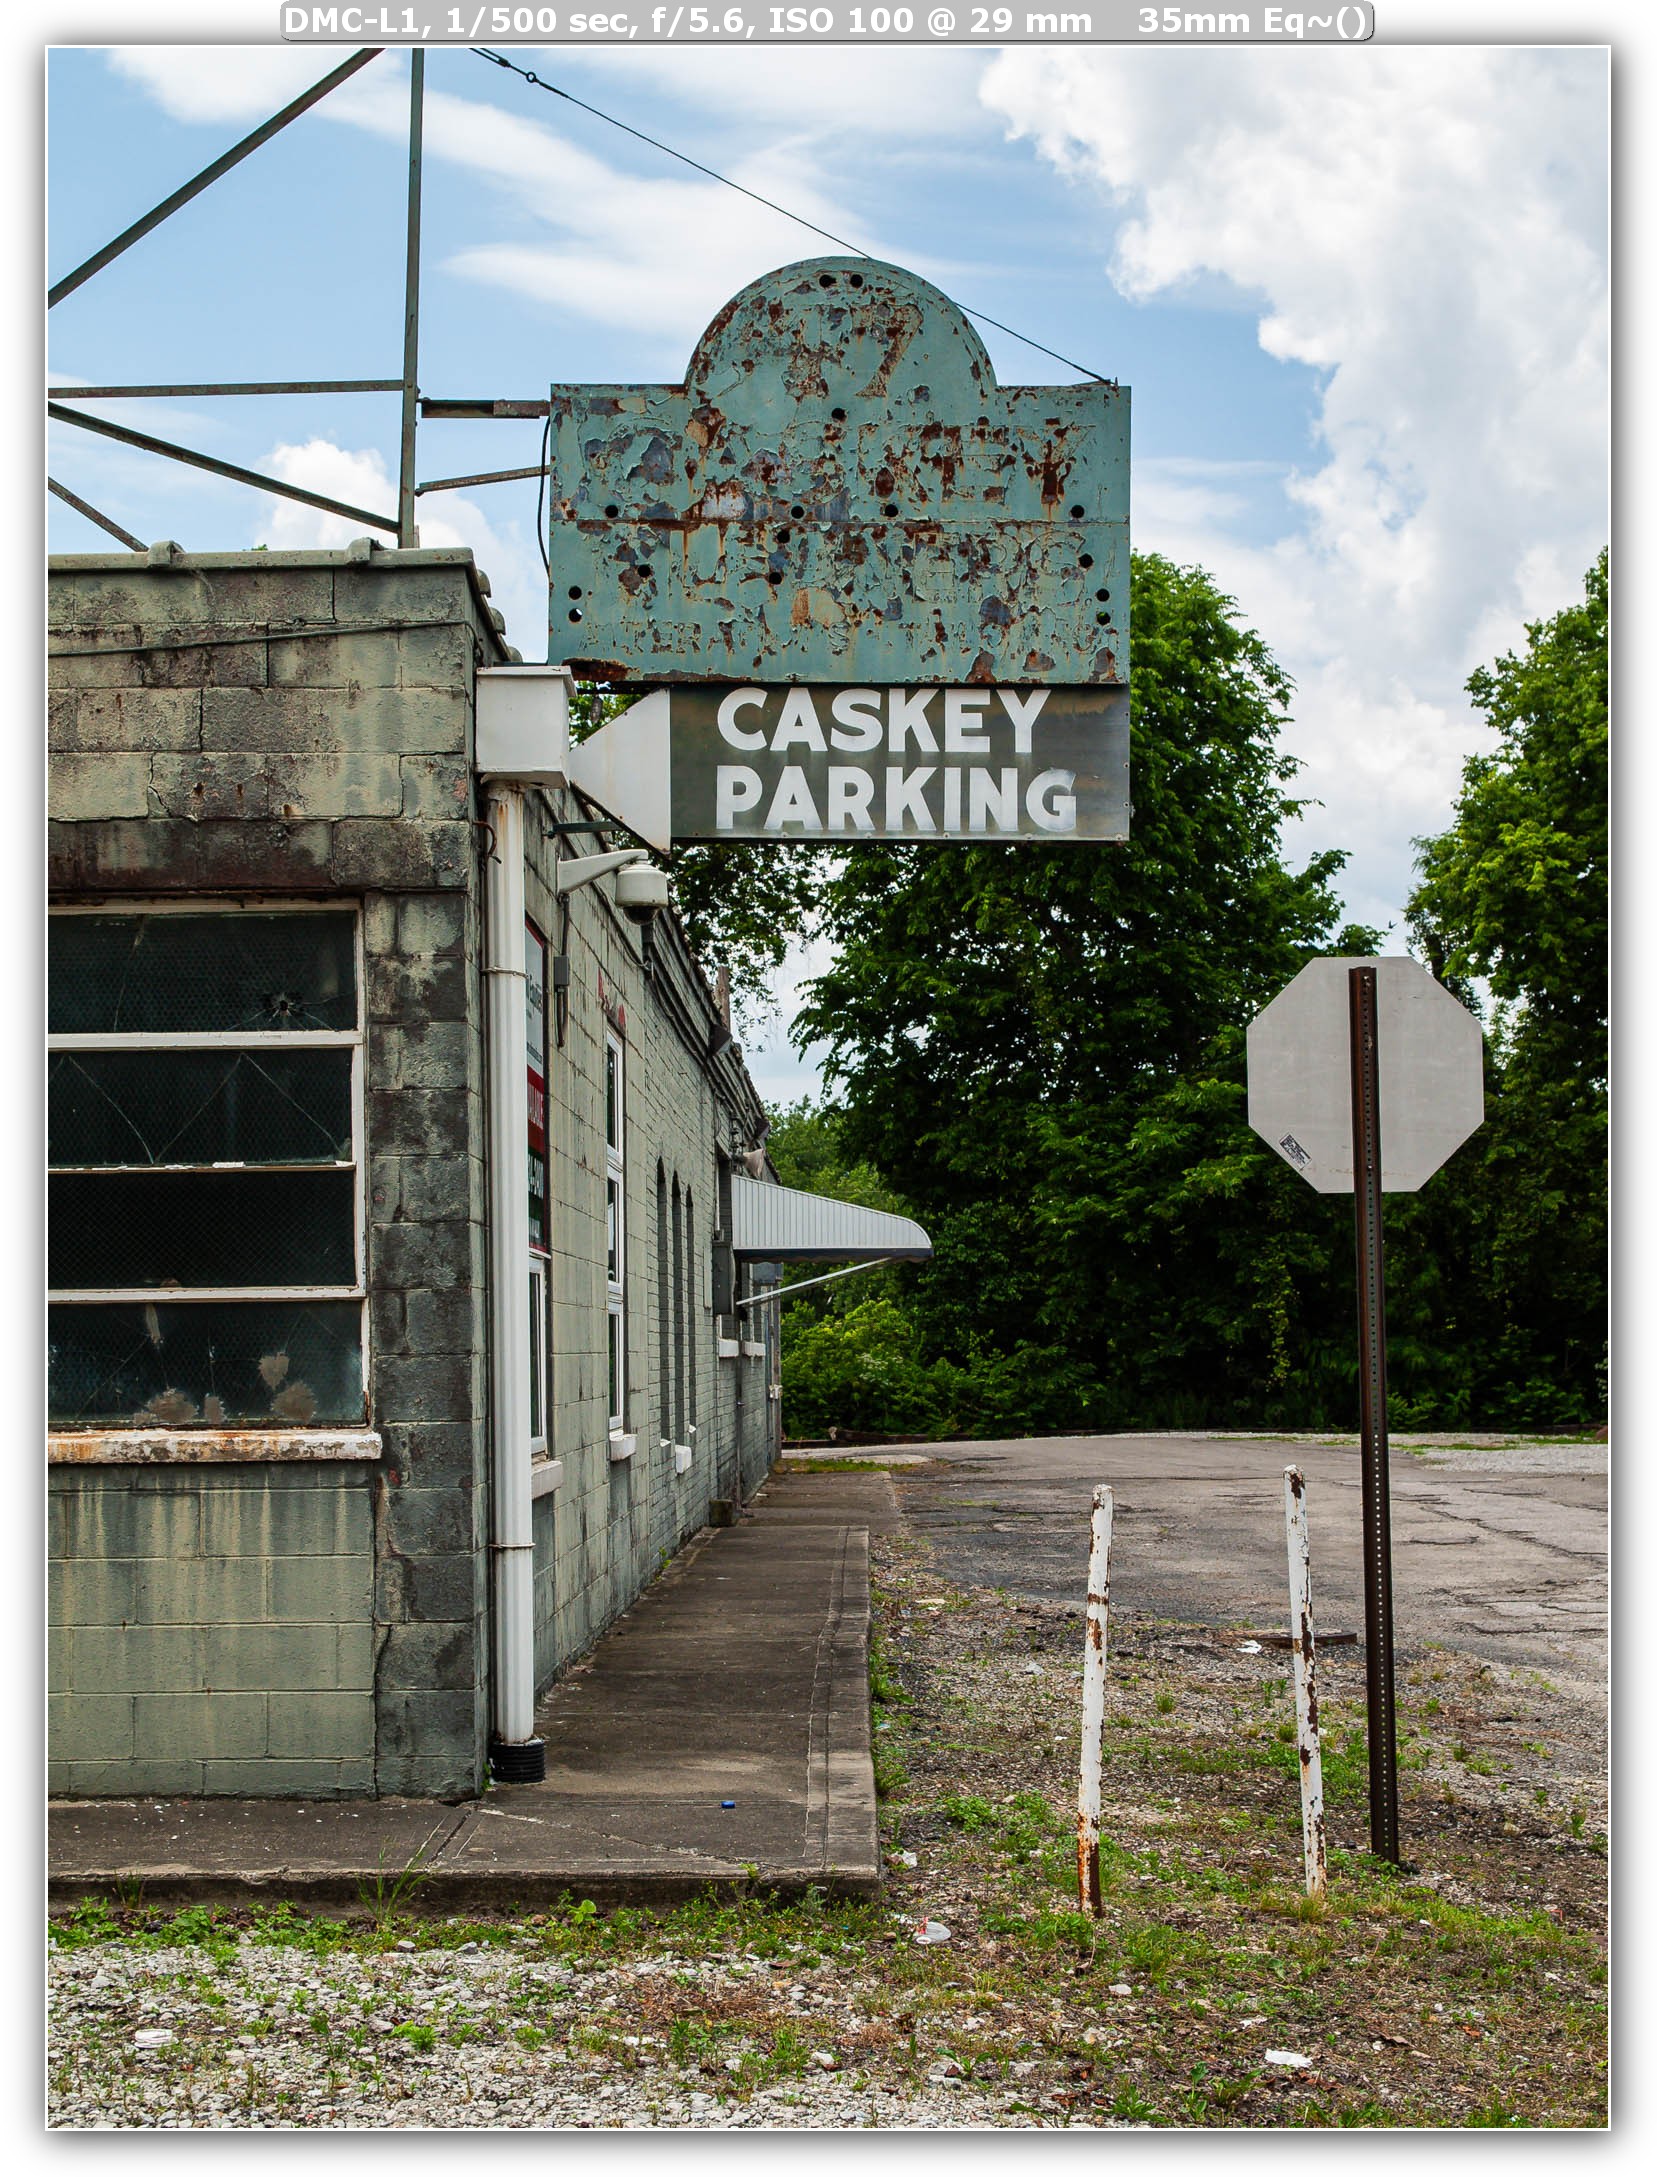
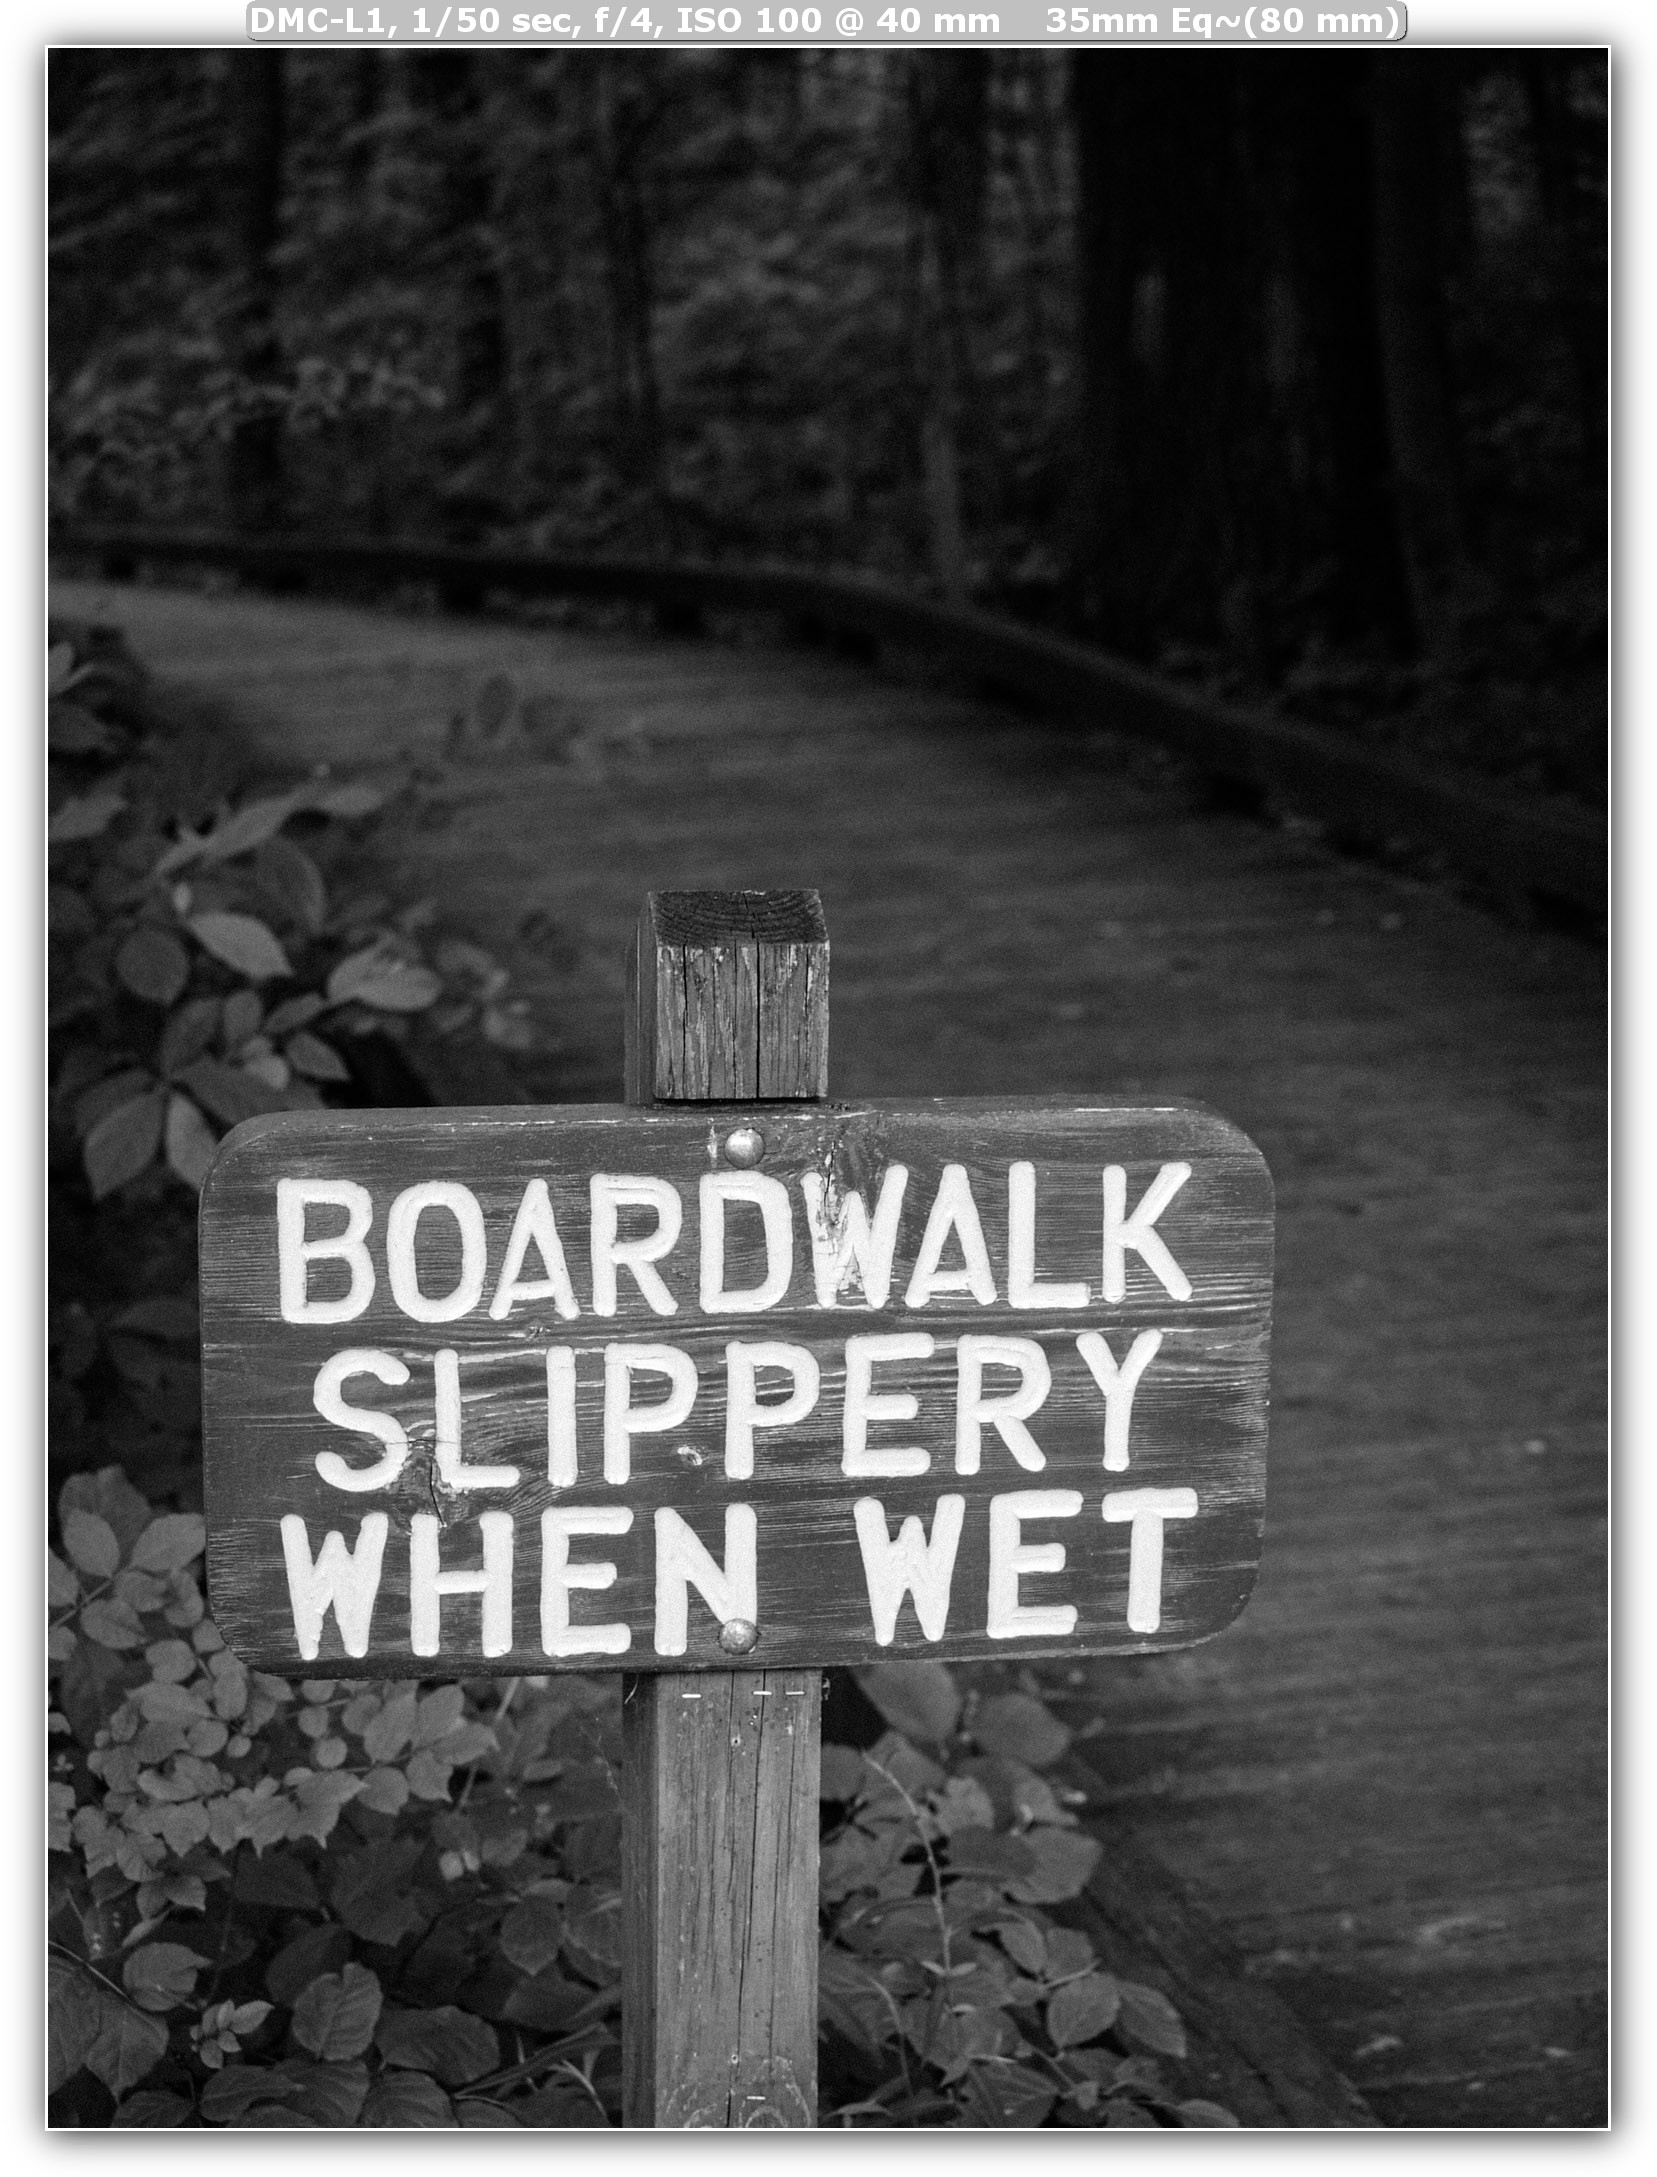
RAW Processed In Lightroom Classic
Lens Line Up
Given that the Four Thirds system did not live very long there are not a lot of lenses for the system (relatively speaking compared to the f-mount lenses, EF mount or Sony E). I really like all the lenses that I’ve used with the E series camera so far. This includes the Olympus 14-45mm, 14-54mm, 40-150mm, 70-300mm and the 9-18mm. I think to get the best experience out of this camera, using a Leica/Panasonic lens with an aperture ring would be best. At some point in the future, I might try and maybe replace the Olympus 14-54mm with a Panasonic 14-50mm.
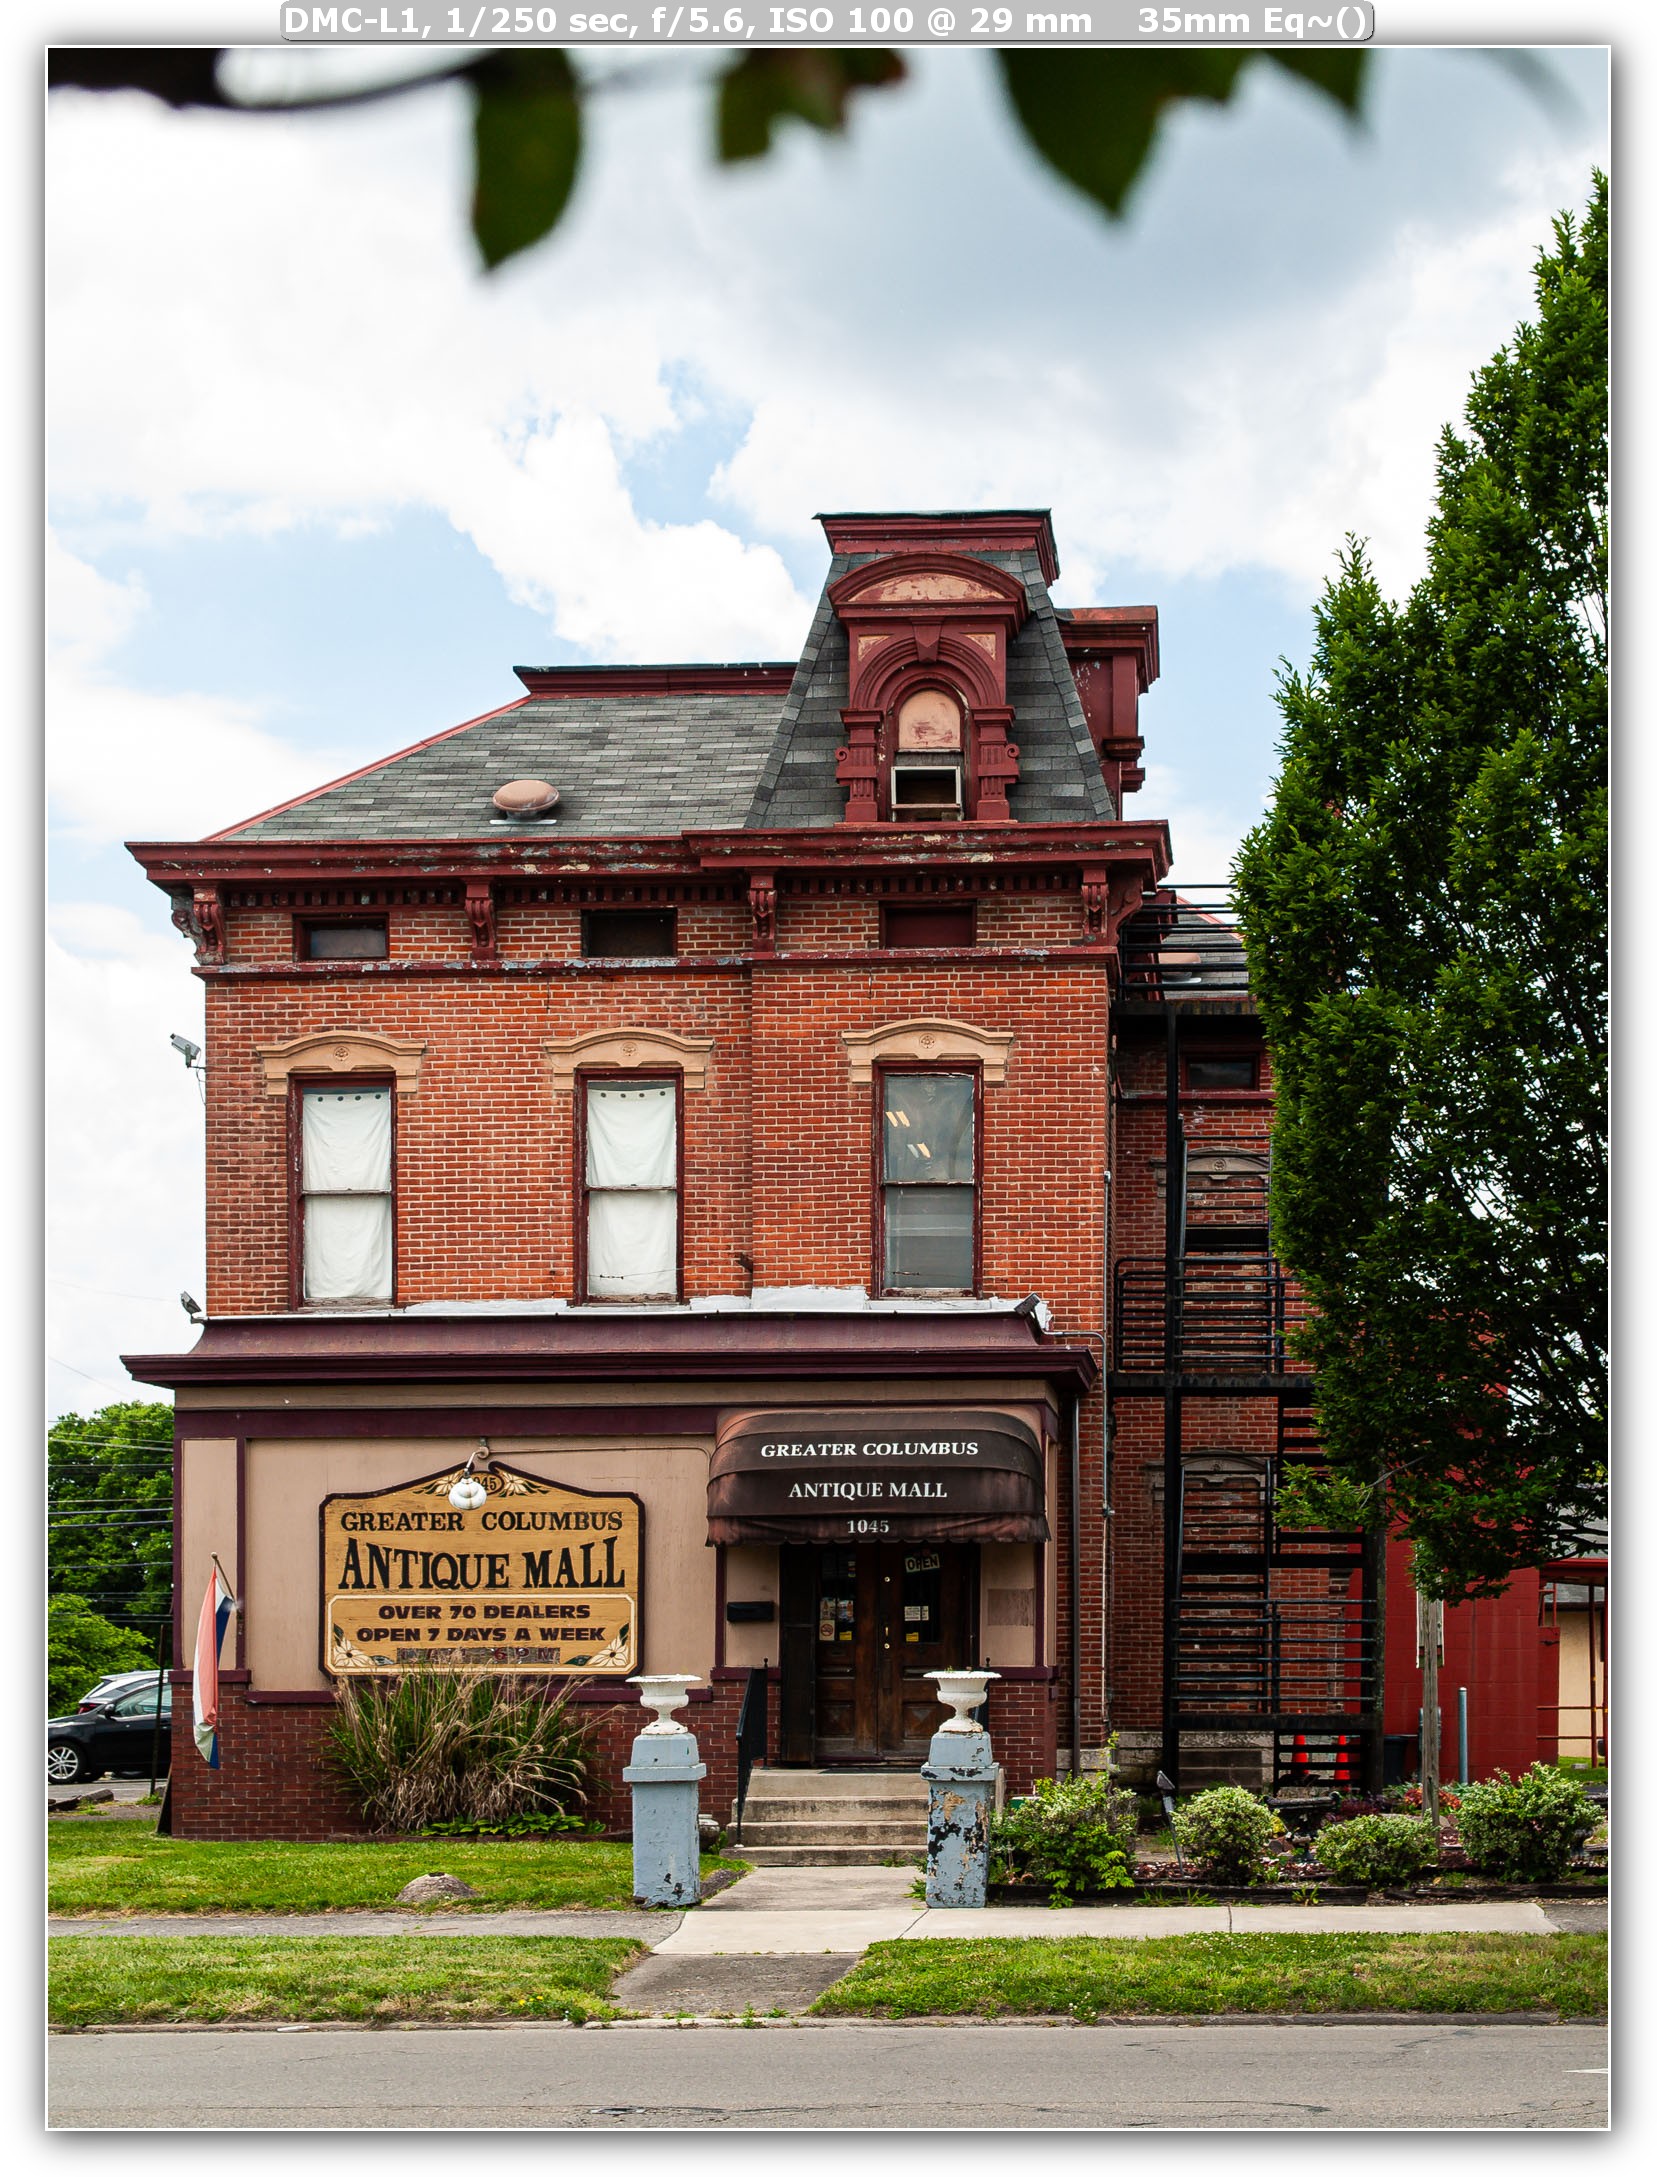
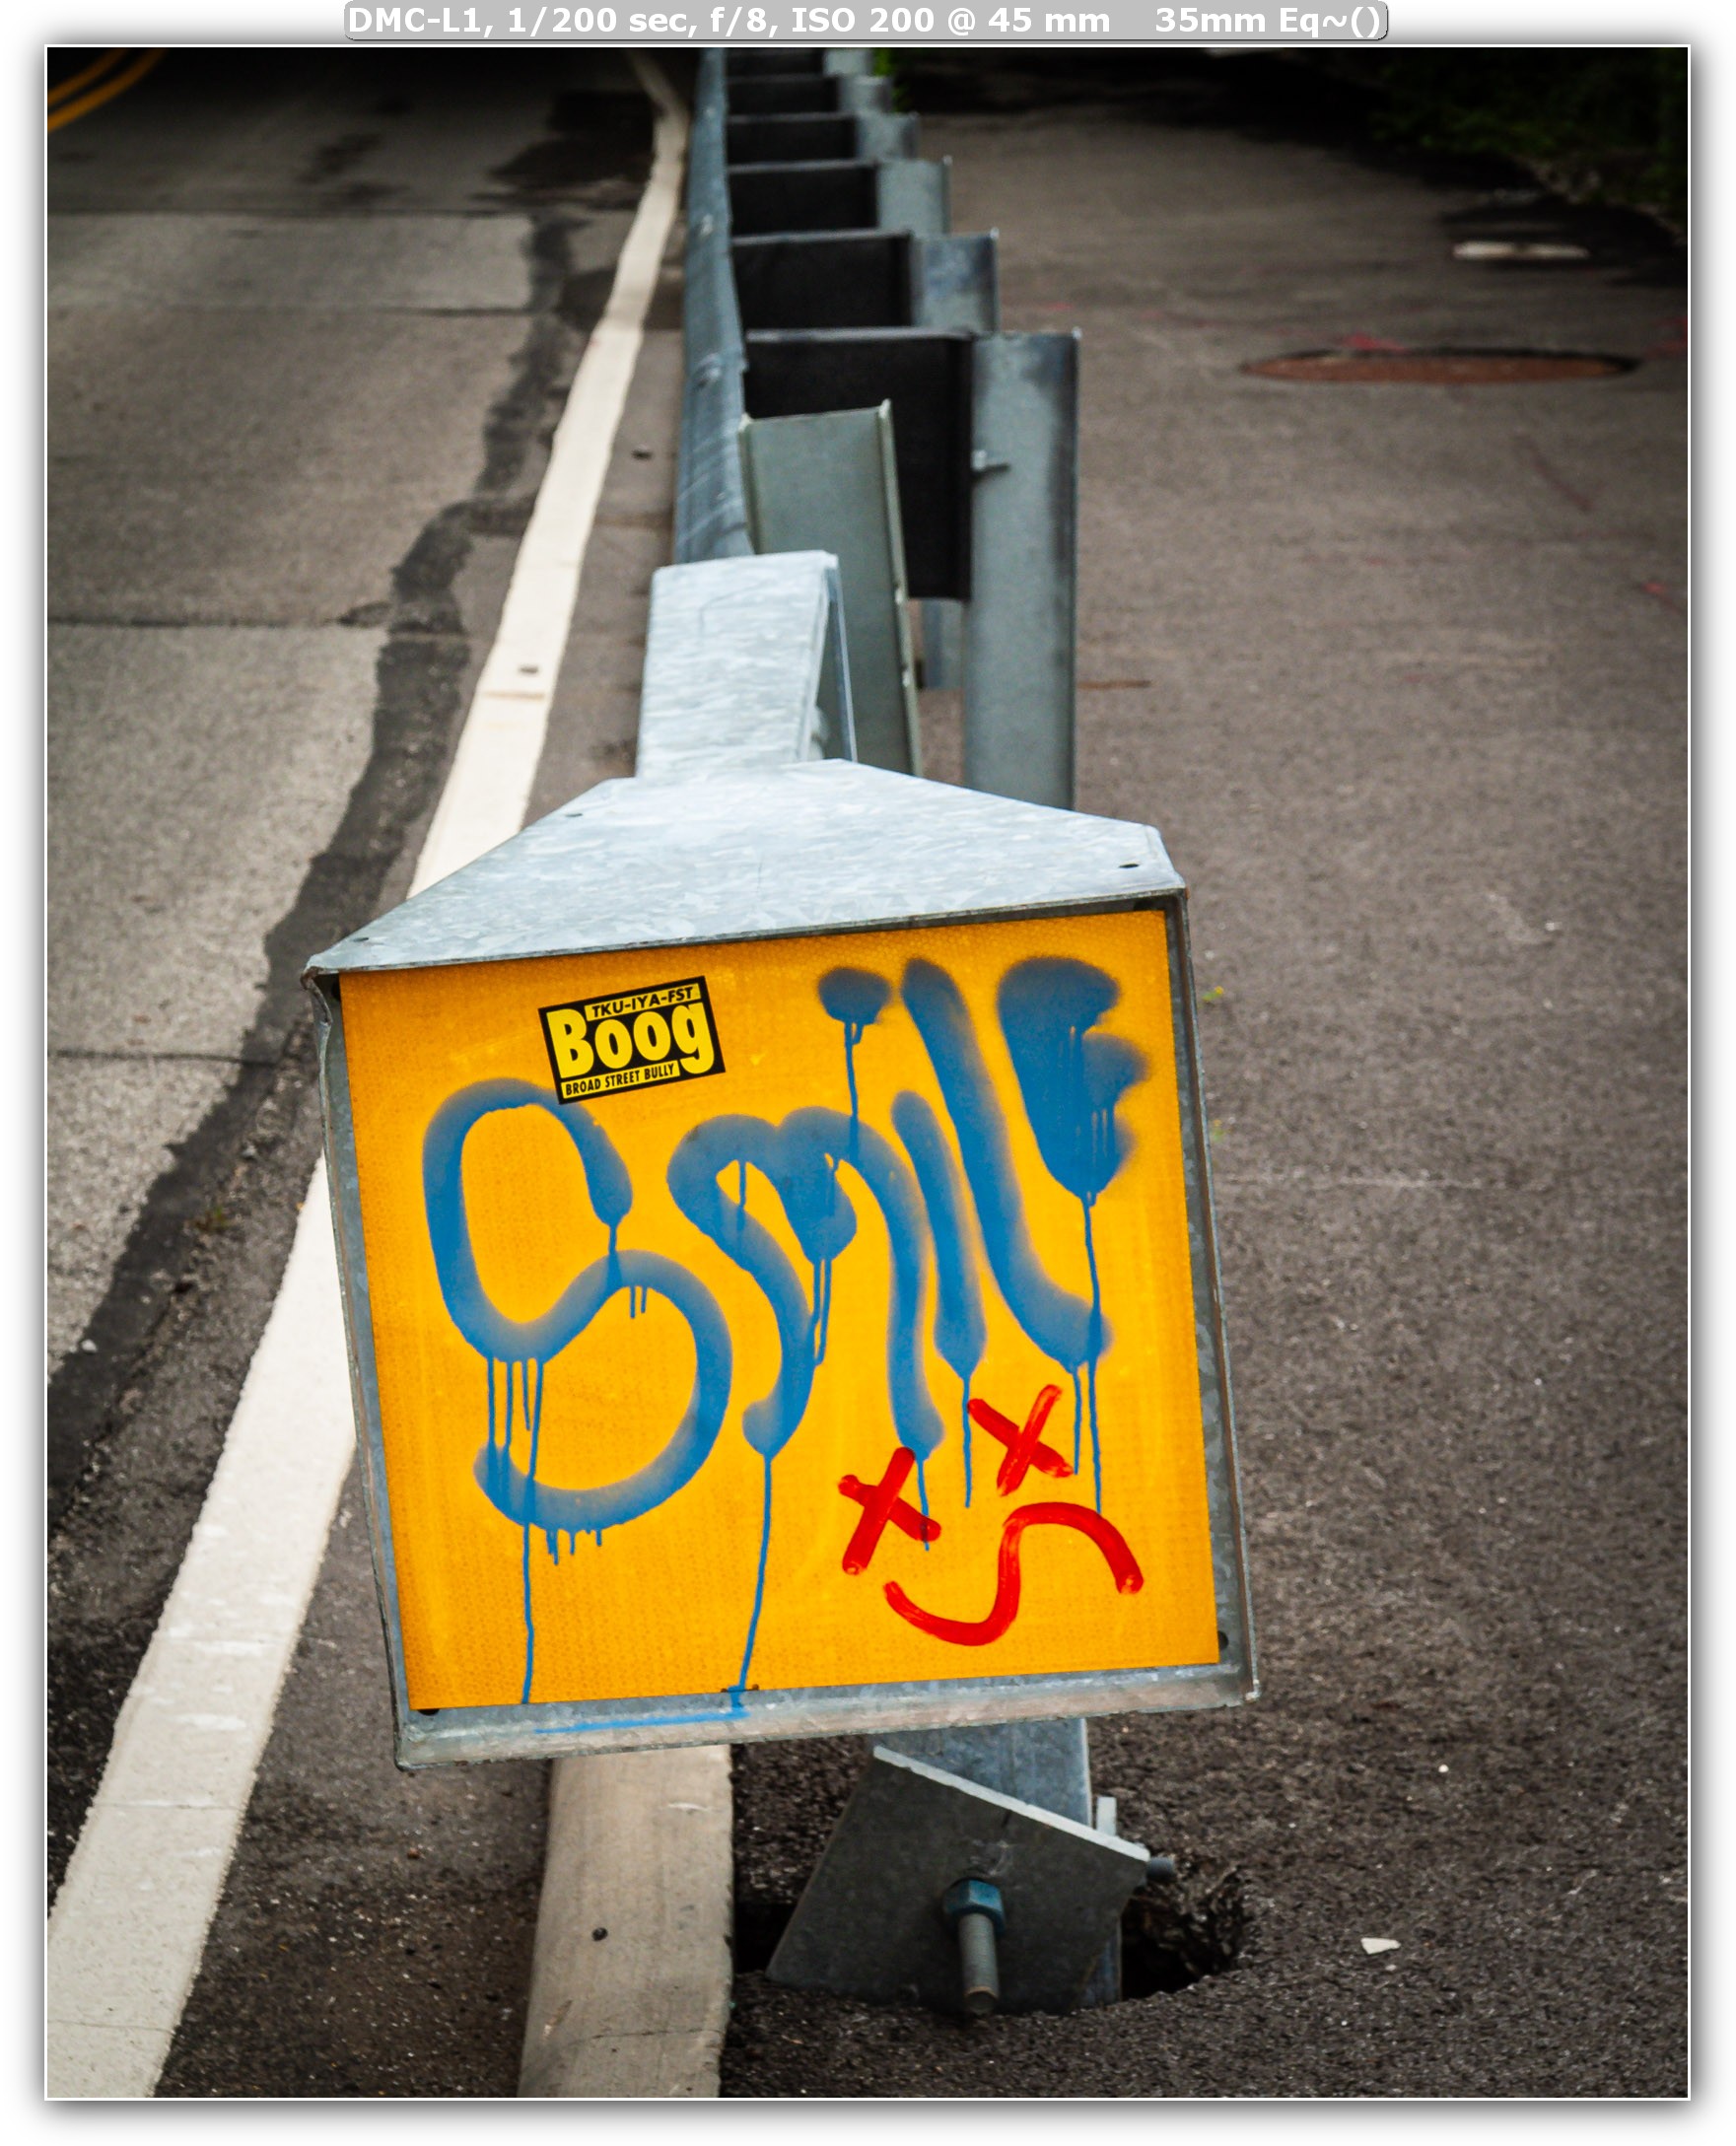
RAW Processed In Lightroom Classic
Overall System Performance
This camera was released July 2006. Even with that, the performance is comparable to the E-300. System performance is great – quick and to the point. Powers up sub second, ready to shoot. Menu navigation is without lag.

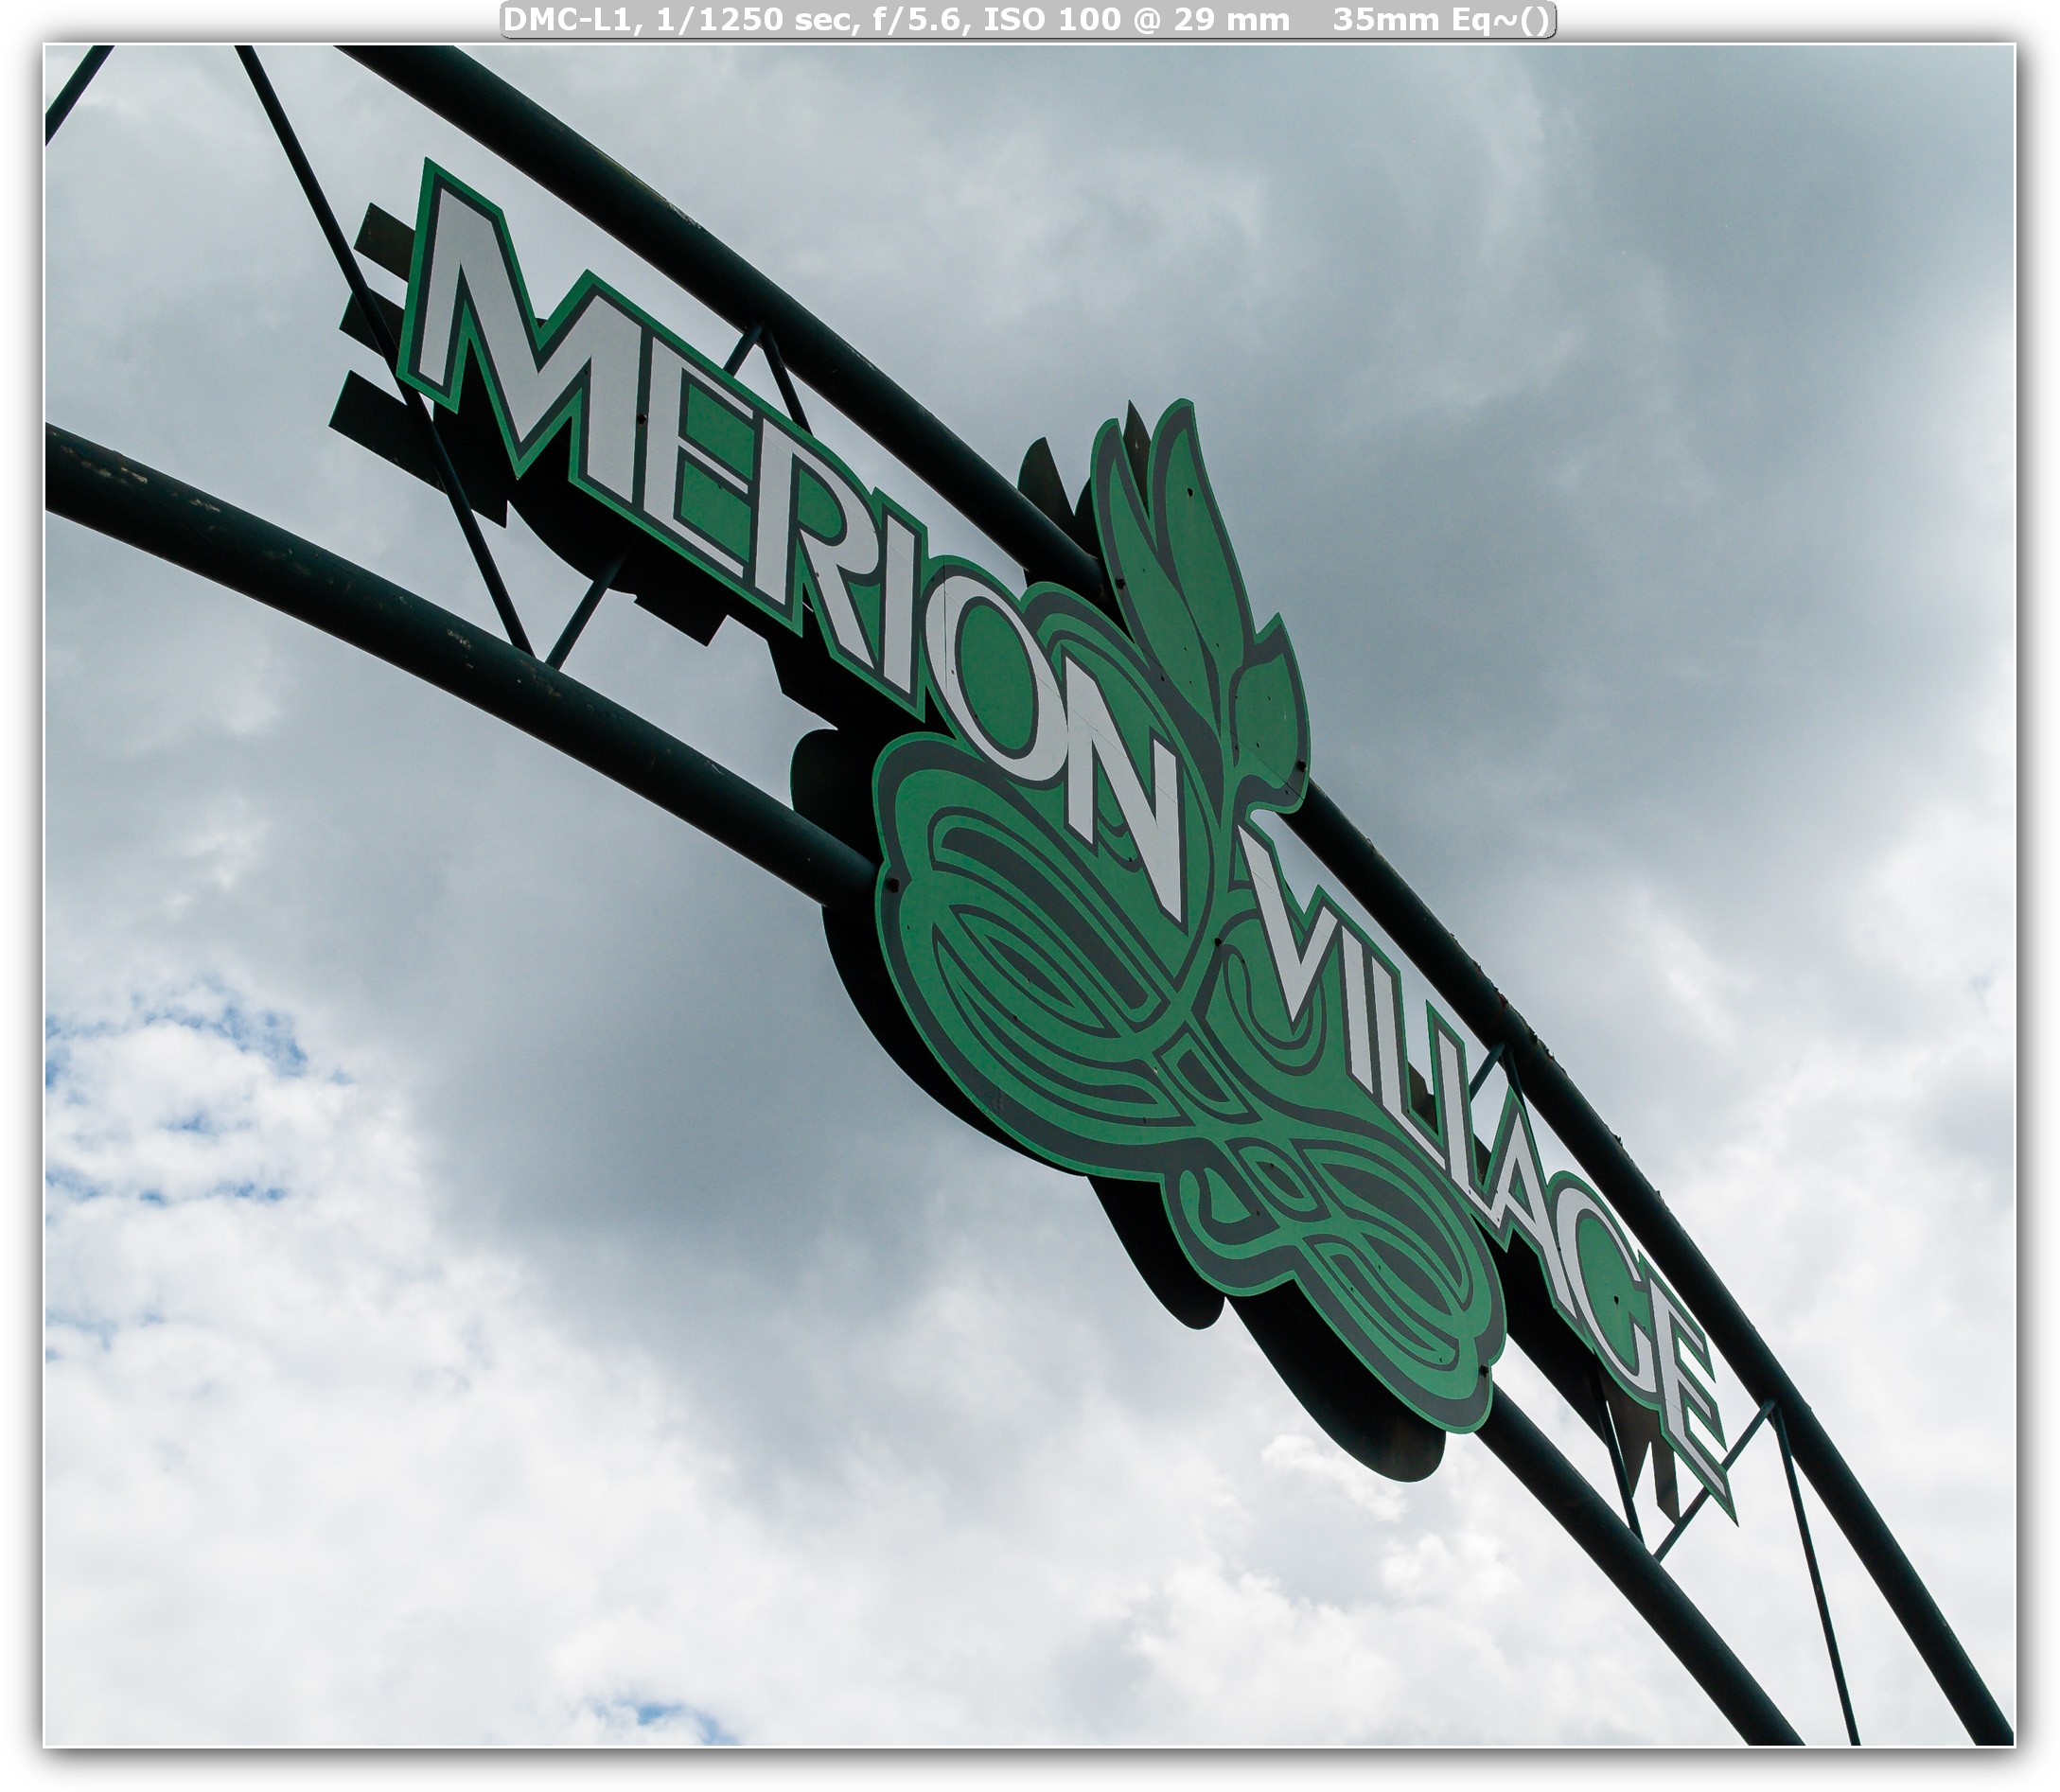
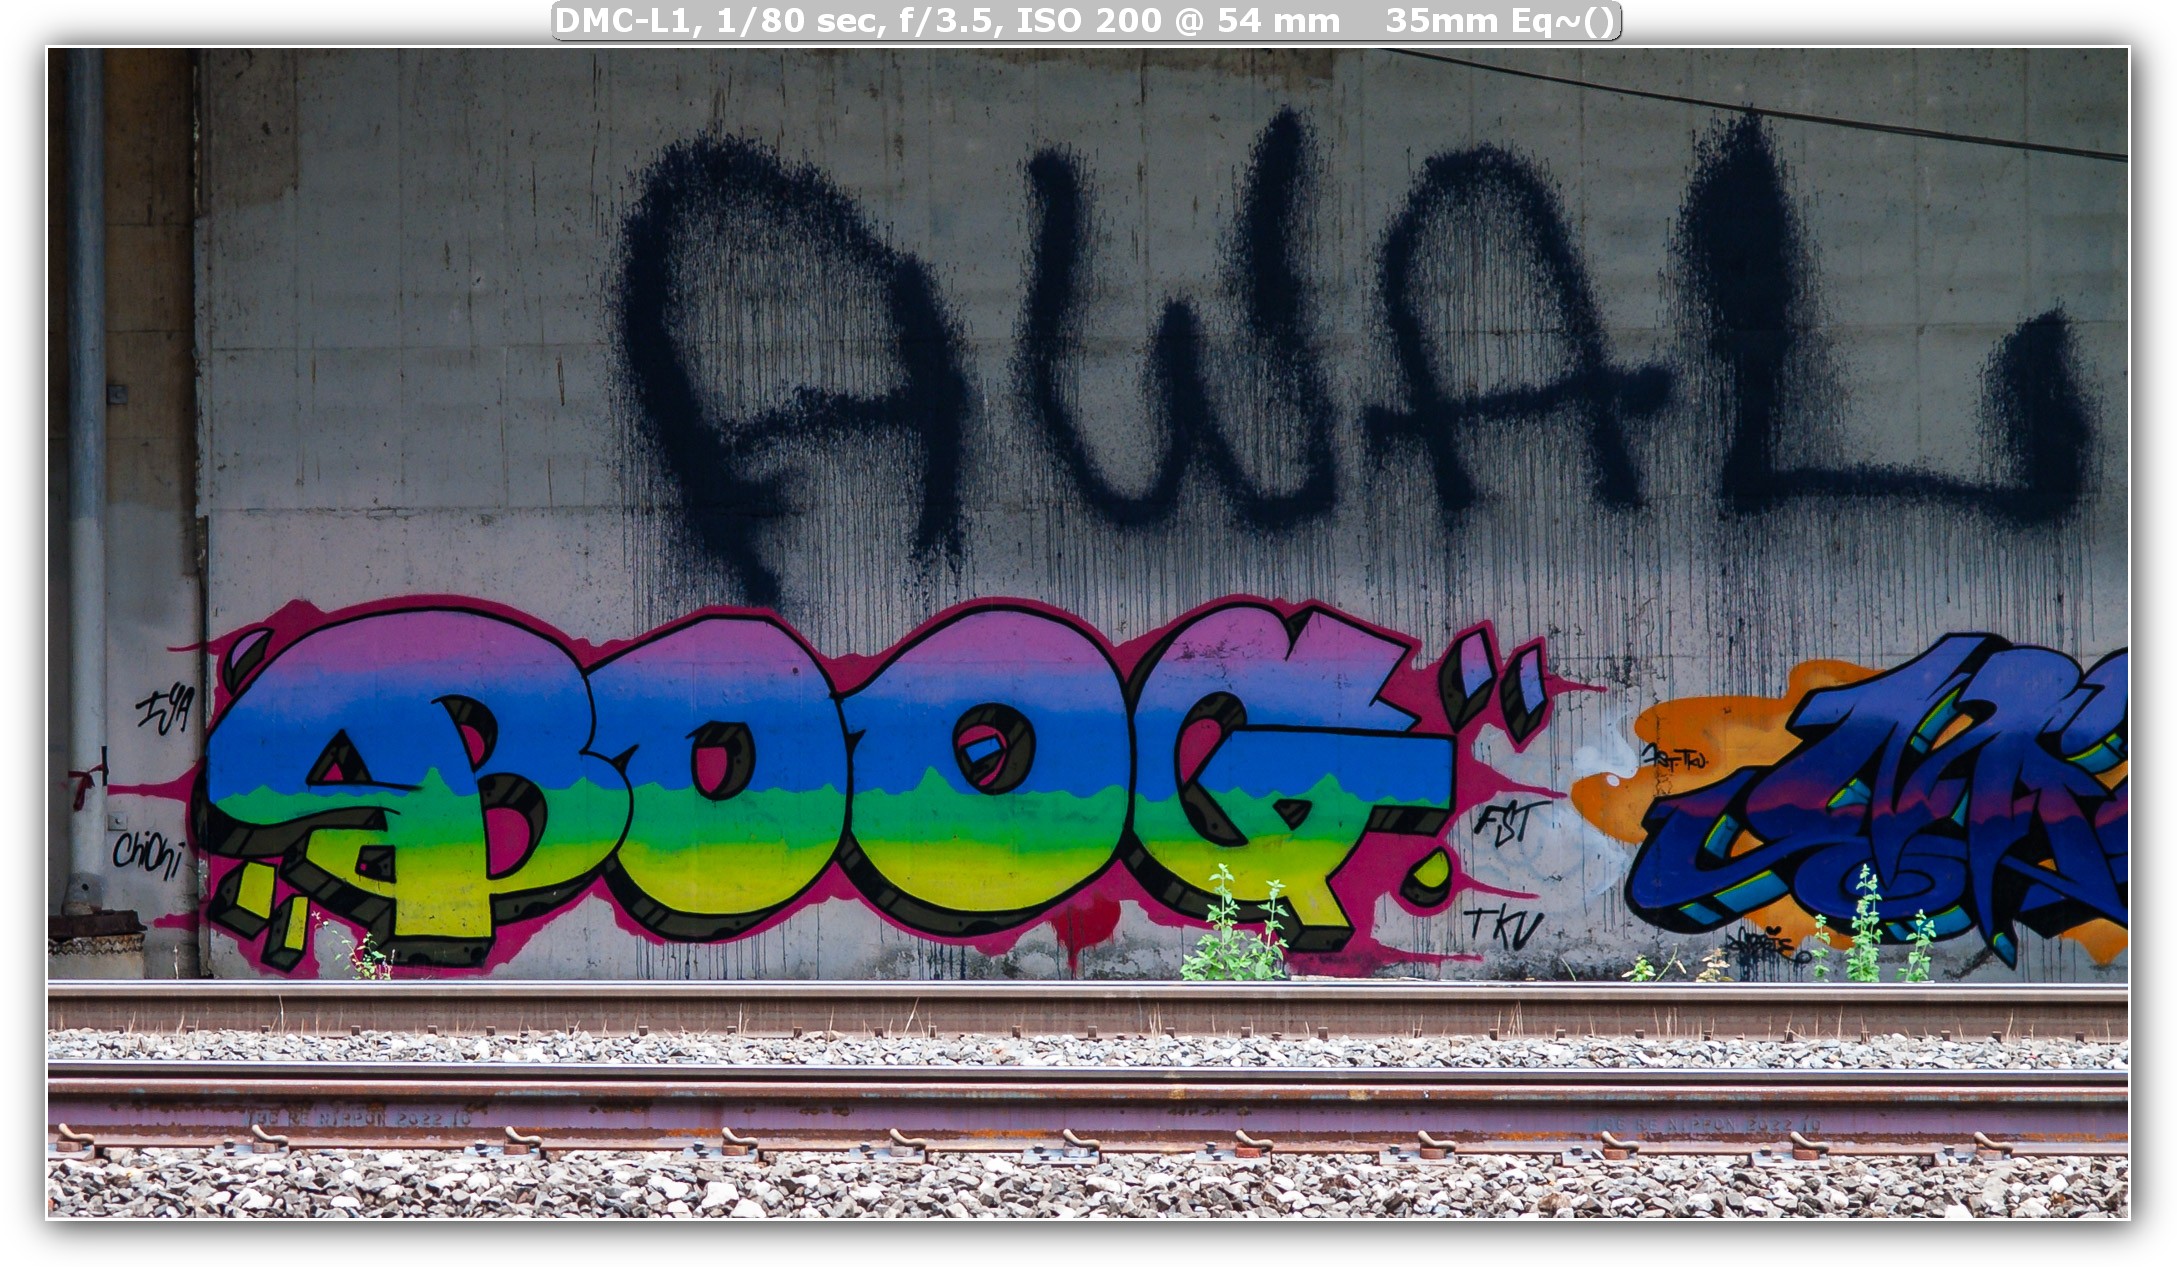
RAW Processed In Lightroom Classic
Autofocus
AF Point Selector
The L1 autofocus is basically the same as the E-300 with 3 points selectable. Center, left and right. You can do a static center point, select one of the three or let the camera auto decided which of the 3 it wants to use.
Point to point is decent for the age, but I do notice that sometimes there are misfocuses. Not horrible, but definitely something to keep in mind when using this camera. Go for high contrast target points to get the most out of it. Low contrast and it will either hunt or get a false positive lock.
Continuous
More testing here is needed, but I’d think that if subjects are moving too fast, it may not be able to keep up. This would not be the first camera I would choose for that anyway.
Manual Focus
Not something I would use here, so I did not test it.
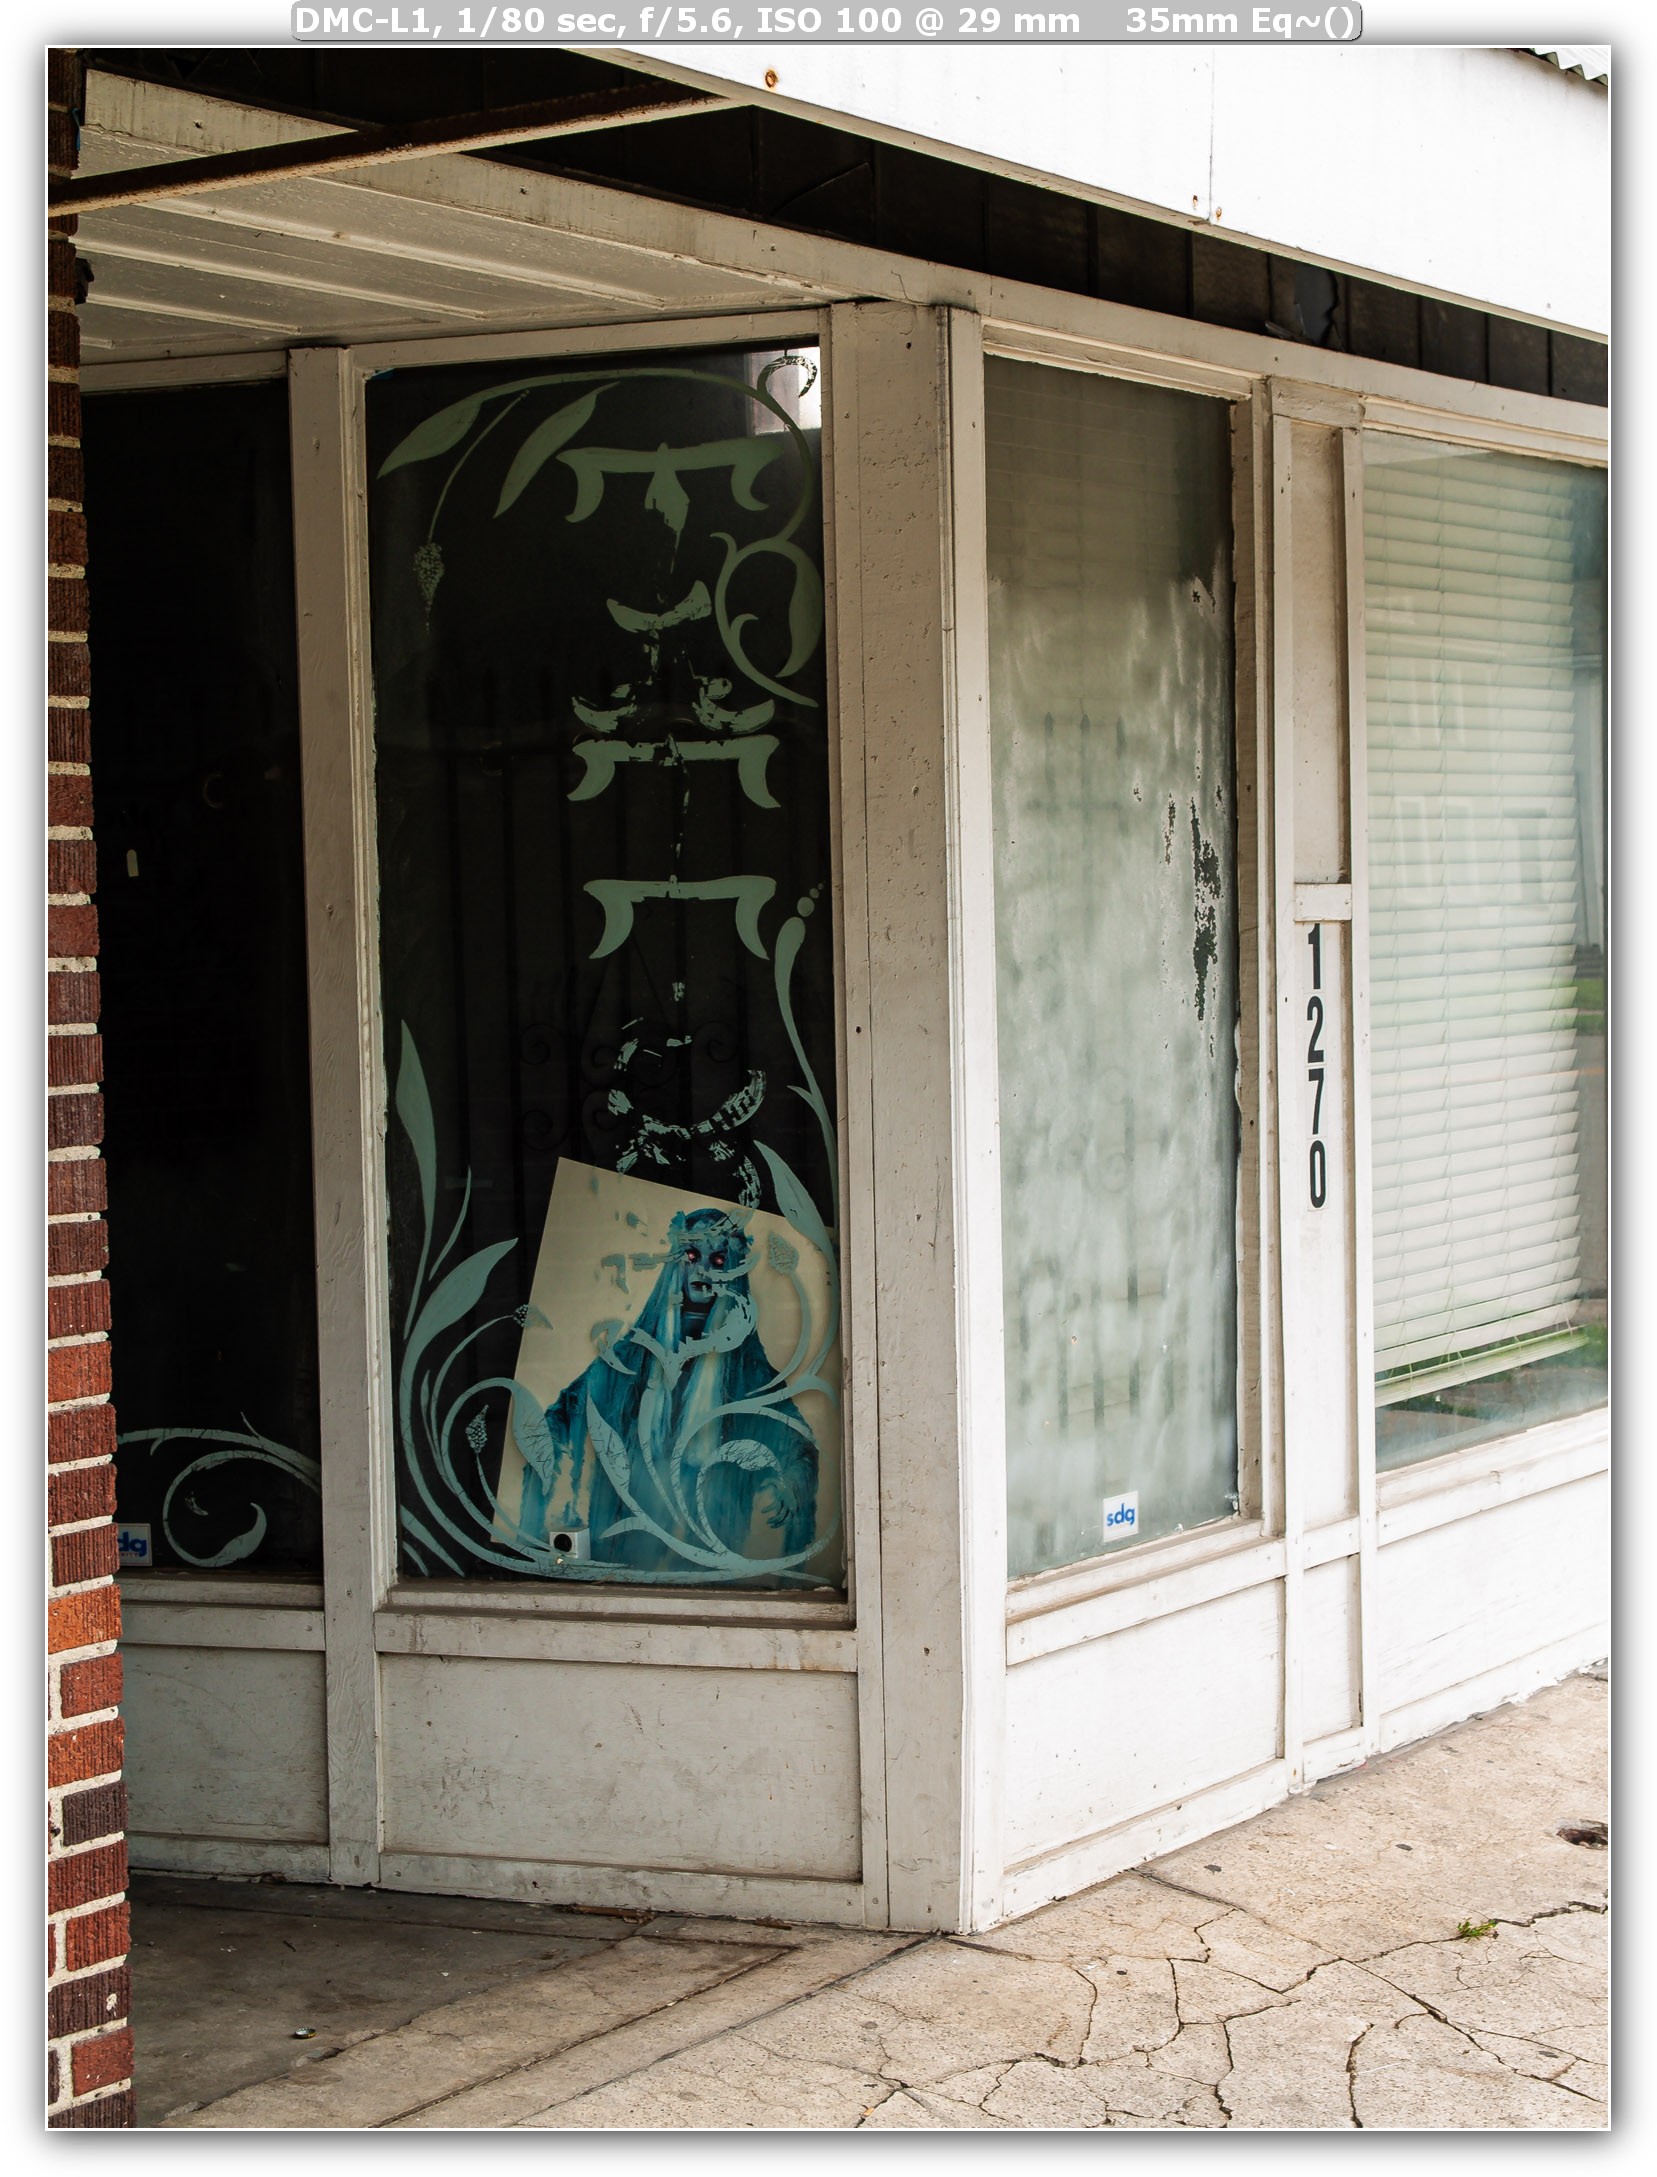
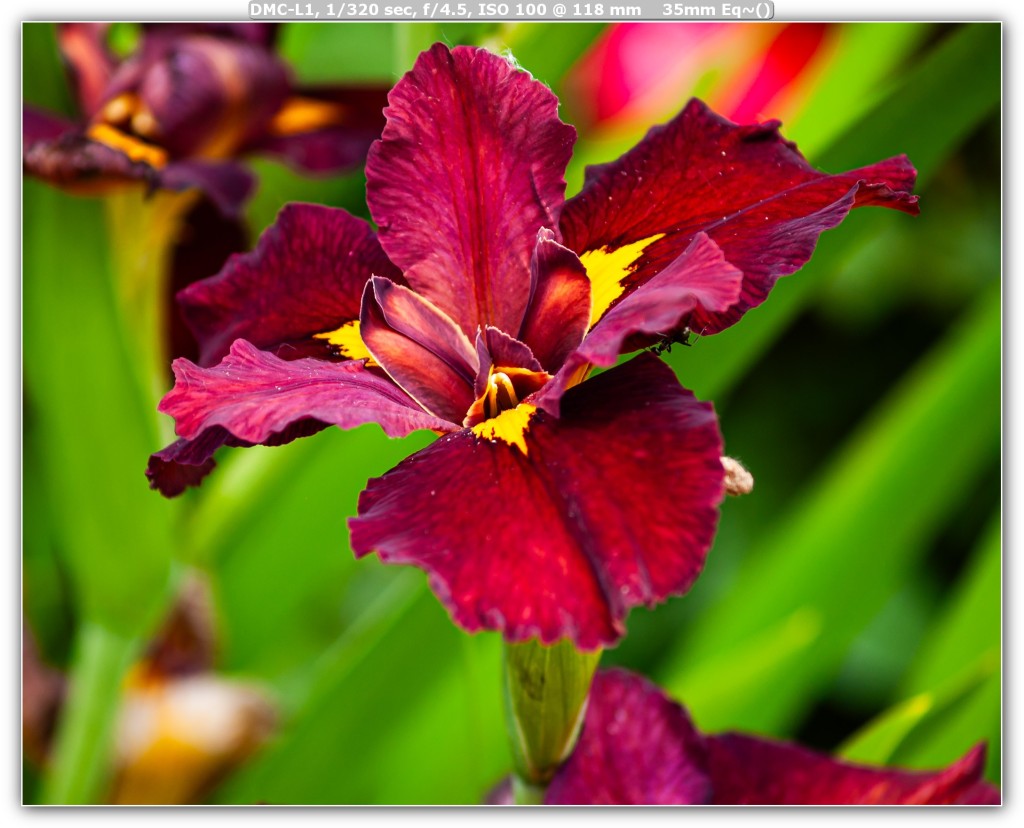
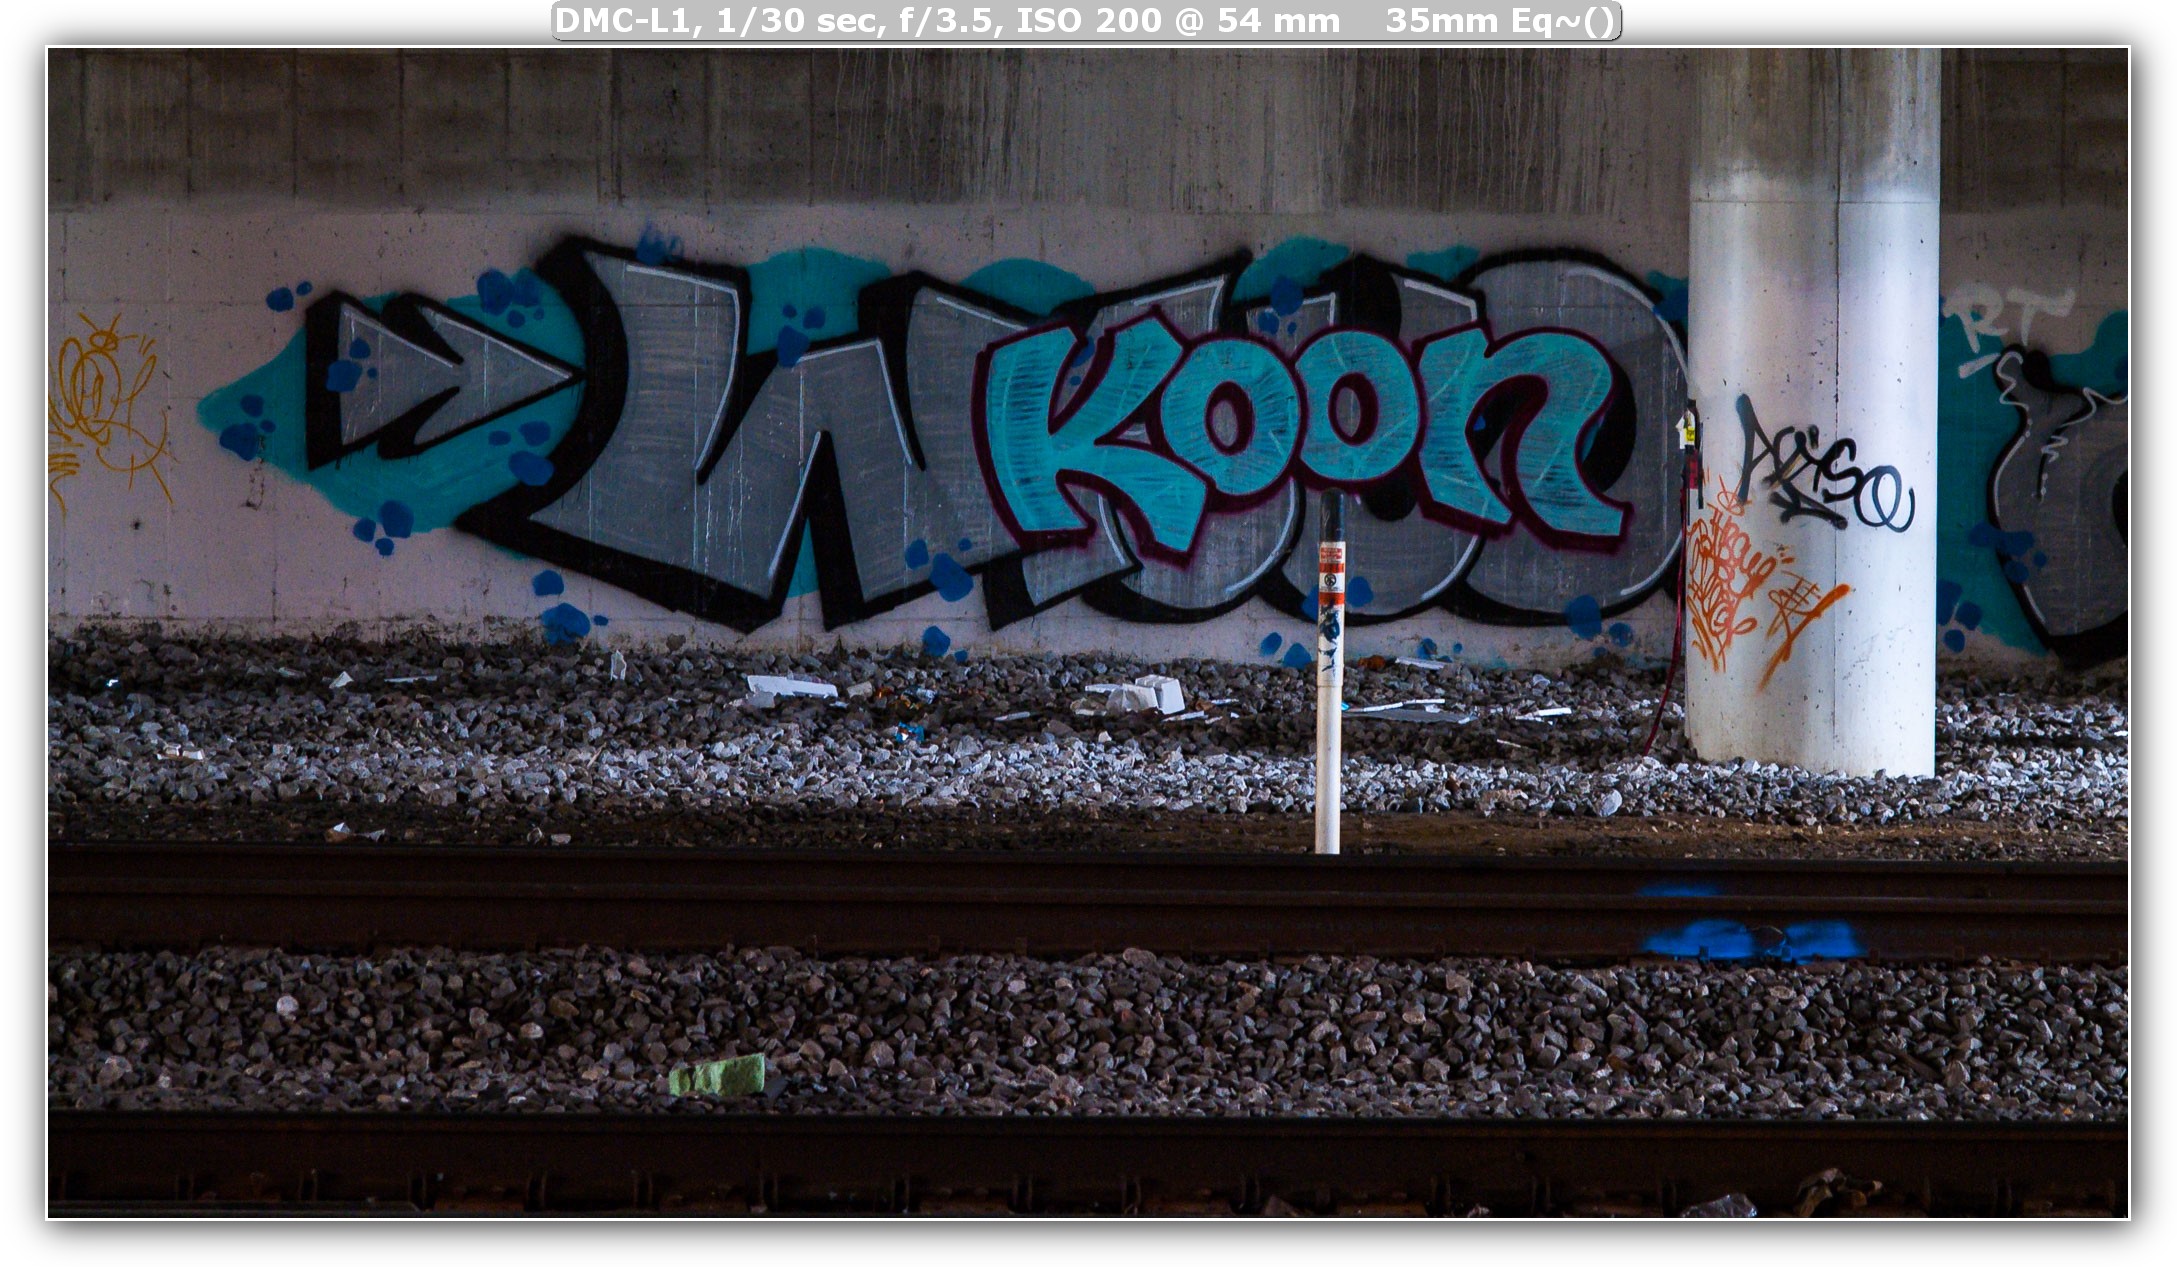
RAW Processed In Lightroom Classic
Battery and Battery Life
When I first got the camera, it came with 1 battery. It does use the same batteries as the Panasonic LC1 and LC5 – the CGR-S6020A. I have found the battery life of a camera at this age to be decent. The OEM battery starts to drain quicker than I anticipated – which leads me to believe that it is close to end of life.
I did pick up one third party battery. There are not a lot of choices for this battery type, but Kastar branded ones seem to be the only choice at this time.

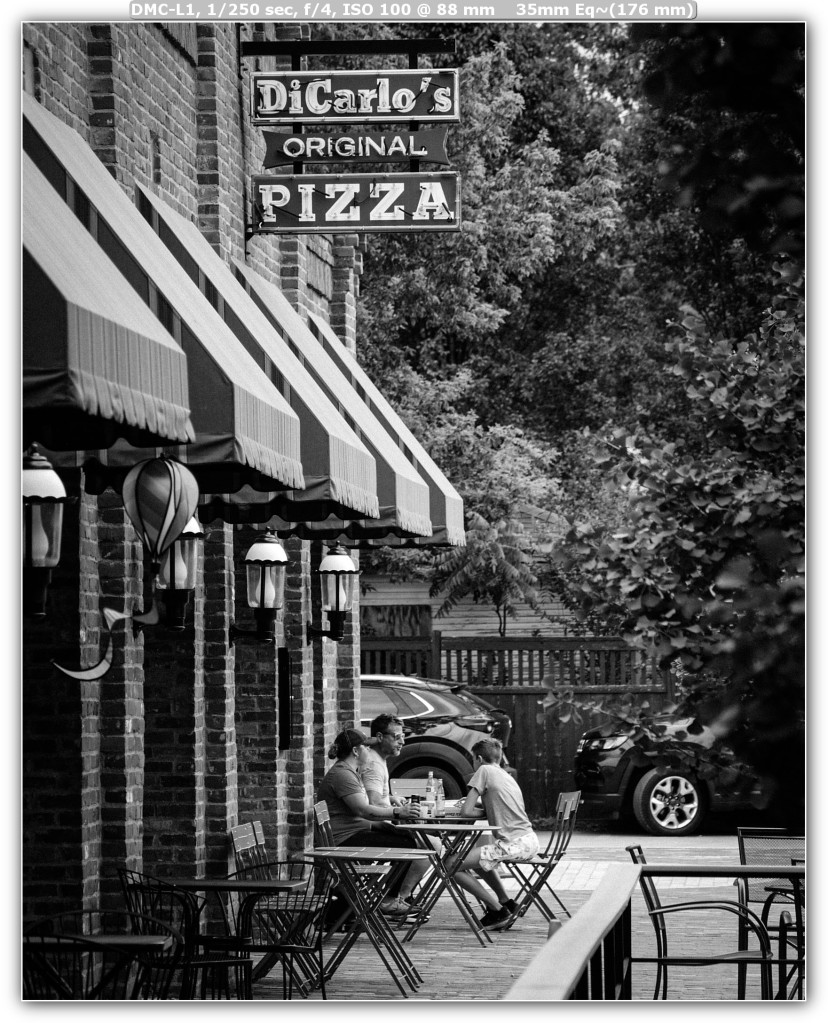
SOOC Dynamic B&W (vignette and grain added in post)
RAW Processed In Lightroom Classic
Stabilization (IBIS/iS)
This camera does not have a stabilization system built into the camera body. Panasonic does make some lenses with IBIS, so if that is something you want, seek out those lenses. In good light, stabilization is not mandatory!

SOOC Dynamic B&W (vignette and grain added in post)
RAW Processed In Lightroom Classic
Ergonomics
For me, the size of a camera is important. There is a point of diminishing returns on size. You can only go so small before the controls are hard to reach and the camera is difficult to hold.
Feel in The Hand
I already mentioned that the camera feels solid. If a camera is too small it is hard to get to the buttons that are on the camera body. This camera feels very good to me for what it is. The grip is good, more comfortable than the E-300. My pinky finger does occasionally fall off the bottom of the camera, but that is rare.
Even with all that, the grip is sufficient for me to be able to hold the camera with one hand with the 40-150/3.5-4.5 or the slightly larger 70-300mm f/4-5.6 attached – fine in either portrait or landscape orientation. The E-3 handles better – but it should!
On a black rapid strap, depending on how the camera is resting on my hip, I found that I sometimes would inadvertently bump the AF mode switch and the camera would be in manual focus mode.
RAW Processed In Lightroom Classic
Image Quality
It’s been 3 – 4/3 DSLRs before this one to compare against. Was not 100% sure how it would look as the E-510 has the Live MOS sensor or the CCD E-300.
Panasonic does a great job here and the images are very nice, from JPG to RAW – you have a lot to like here if Panasonic color science is to your liking. STANDARD JPG profile or Film Looks. The sharpening is a little lacking by default, so if shooting JPG is your thing – then you may want to bump it up to +1.
Colors are very nice. Good amounts of saturation without being over done and the tones tend to be a little warmer than an equivalent Olympus 4/3 camera.
There is even a few monochrome modes where you can shoot in camera black and white, adjust the sharpness and contrast. I really like the Dynamic B&W mode. I bump up the sharpening and then ramp up the contrast some to get a look that I like.
Even higher ISO, and this camera can go up to 1600 is passable with modern post processing techniques. I use Lightroom and noise/sharpening plugin called Topaz Photo AI when needed. Shooting JPG in monochrome and the digital noise looks similar to analog film grain. Or you can shoot in monochrome mode for a more organic looking JPG, which I do often.
As I always do, please check out the images in this review and decide for yourself what you think of the image quality. What do you think of a nearly 20 year old DSLRs image quality?
RAW Processed In Lightroom Classic

SOOC Dynamic B&W film look (vignette and grain added in post)
SOOC Dynamic B&W film look (vignette and grain added in post)
Final Thoughts
I am happily surprised at just how much I really like shooting with the Panasonic L1 4/3 DSLRs. The camera is very responsive.
The L1 is really a lot of the same from the E-300 with some changes in handling and JPG film looks.
While this may be a dead system, if you just need the basic zooms and a few primes, you can get all you need here and for not a whole lot of money. 4/3 DSLRs are a great alternative and you can get into a system for not a lot of money if you shop around. I was able to get the E-300 with the 14-45 and 40-150 kit lenses for $125.
The Panasonic L1, I got for under $150.
Handling can be improved if using the L1 with a Panasonic lens with an aperture ring.
Final Verdict = Recommended – better with Panasonic lenses with Aperture rings, but still fun with Olympus lenses! We have a Panasonic/Leica 14-50mm f/2.8-3.5 lens coming soon and will extensively test this and have another review with that lens too!
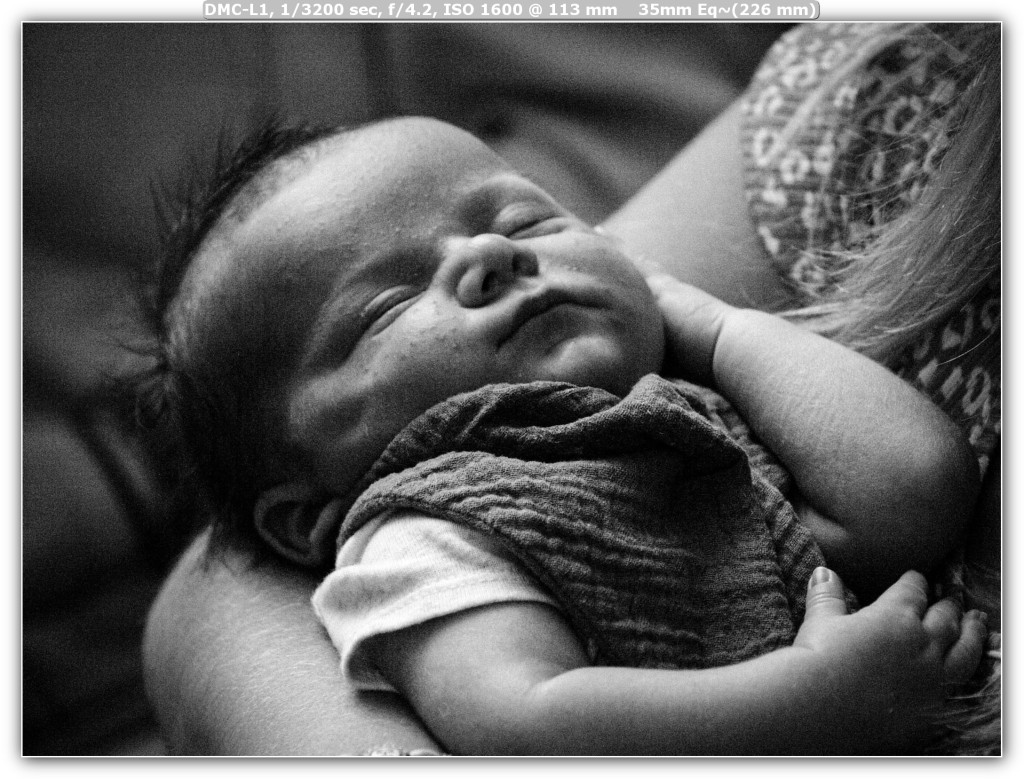
SOOC Dynamic B&W film look (vignette and grain added in post) – intentionally shot at ISO 1600
Olympus 40-150mm f/3.5-4.5
RAW processed in Lightroom
SOOC Dynamic B&W film look

SOOC Dynamic B&W film look
Low angle – used Live View
RAW processed in Lightroom
RAW processed in Lightroom
RAW processed in Lightroom
